How to adjust your MTB’s suspension
|Know-How
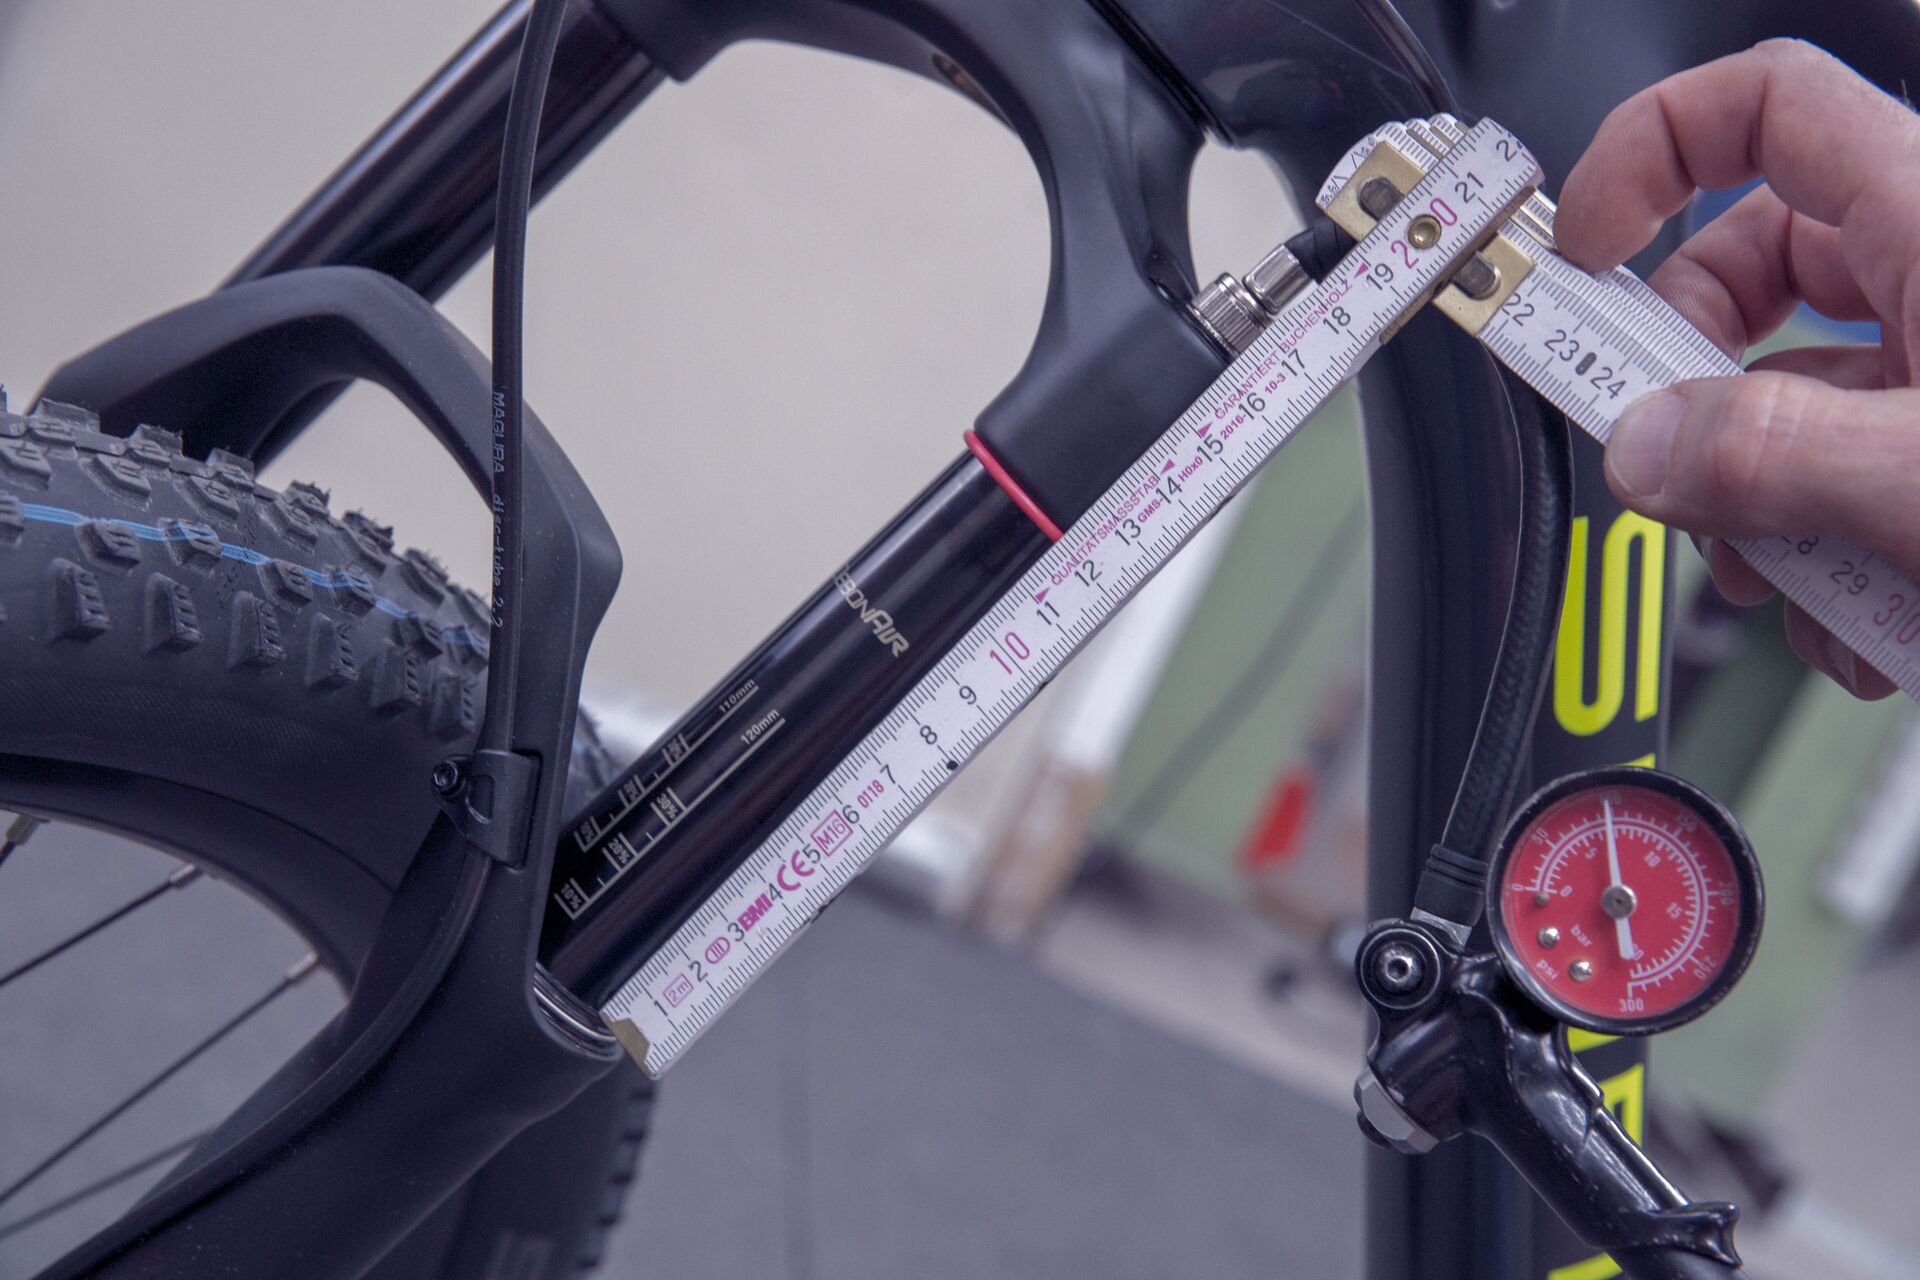
More control, comfort and safety: the right suspension setup makes all the difference on a mountain bike. Whether you ride a classic MTB or an e-MTB – with the correct settings your bike climbs more efficiently and feels more stable on descents.