Perfect tour planning in detail

|Know-How

How do you select the route? Which gadgets can help you with navigation? Find out more in part 2 of our three-part series on perfect tour planning! 

Perfect tour planning: part 2

All planning steps in detail 

In part 1, “The four phases of tour planning”, MTB expert and pioneer Christoph Malin has told us about the most important pillars of tour planning for a one-day or multi-day tour. Now, it’s time to get down to the nitty gritty: How do you select the perfect route? How do you schedule your time for it? And which gadgets are there to help you with navigation? These and other questions will be answered in part 2 of our series on “perfect tour planning”. 

The selection of the route

The first step in planning is the selection of the area, the altitude and the tour itself. There are plenty of sources for inspiration: Countless local guides or online portals such as Outdooractive , Komoot  or Alpenvereinaktiv  are available to you. 

But be careful! While the information in books about the level of difficulty of a certain E-MTB tour in terms of technique and endurance is usually verified by the author, tour information from online sources has to be taken with a grain of salt. The descriptions of the routes are usually based on personal experience and subjective assessment. What one person considers a piece of cake might be a major challenge for another. That’s why you should always scrutinise the info regarding time, distance and duration! 

What else needs to be taken into account? You should always take a close look at the map and the region. A hiking map and the skilled use of it are prerequisites for every activity in the mountains and thus main components of good bike tour planning. 

The duration

If you don’t live north of the Arctic Circle where you have 24 hours of daylight thanks to the midnight sun, dusk limits the extension of your tour. Especially in autumn and winter, you should take into account the shortened daylight time. Just like when hiking or ski touring, there are standard measures to calculate the duration of a tour. What matters is the data on route and elevation gain. Elevation gain is additionally divided into riding and pushing phases. 

The following average values for calculation were established for E-MTB tours: 

Distance per hour: 20 km 
Elevation gain per hour (riding): 1,000 m

An example: 

If you’ve planned a tour of 50 kilometres with 1,200 elevation gain without pushing phases, the calculation looks as follows: 

Distance 50 km = 2h 30min 
Elevation gain (riding) 1,200 m = 1h 12min = 36 min 

Total riding time: 2h 30min + 36min = approx. 3h 

During a tour in very flat terrain, the elevation gain component can be ignored. The time needed for the descent varies depending on the difficulty of the trails. A good starting value is about a third of the ascent duration. Additionally, you need to consider the time you need for navigation, short breaks, change of clothes as well as a longer break. 

Generally speaking: You should schedule enough of a buffer for mechanical breakdowns, scenic-view and photo stops! If you’re riding in a larger or inhomogeneous group, it’s advisable to be a little more generous when calculating the duration. It’s better to arrive at your destination early than getting there after sunset
 

The well-deserved break 

As mentioned before, it’s recommended to take short breaks throughout your bike tour – whether it’s for a small snack or to drink some water. This reduces the likelihood of an early slump in energy levels, and both your physical and mental performance will remain consistently high. 

Tip: Ideally, you should combine your breaks with scenic-view and photo stops. That way, you’ll kill two birds with one stone. 

Planning alternative routes 

In phase 1 – at-home-planning  – you should already think about possible alternative routes and what to do in case you have to “abort your mission”. Especially in alpine terrain, there are often only a few locations where you can change the route. These locations are the so-called checkpoints, and they can be found by having a close look at the map or by means of extensive local knowledge. 

An example: You know that you need to arrive at the mountain shelter until 11 a.m. the latest when crossing the main Alpine ridge. Otherwise you wouldn’t be able to reach your tour destination by bike on the same day. If you end up getting there by 2 p.m., you’ve only got two choices: an additional overnight stay at the mountain shelter or ending your tour there. 
 

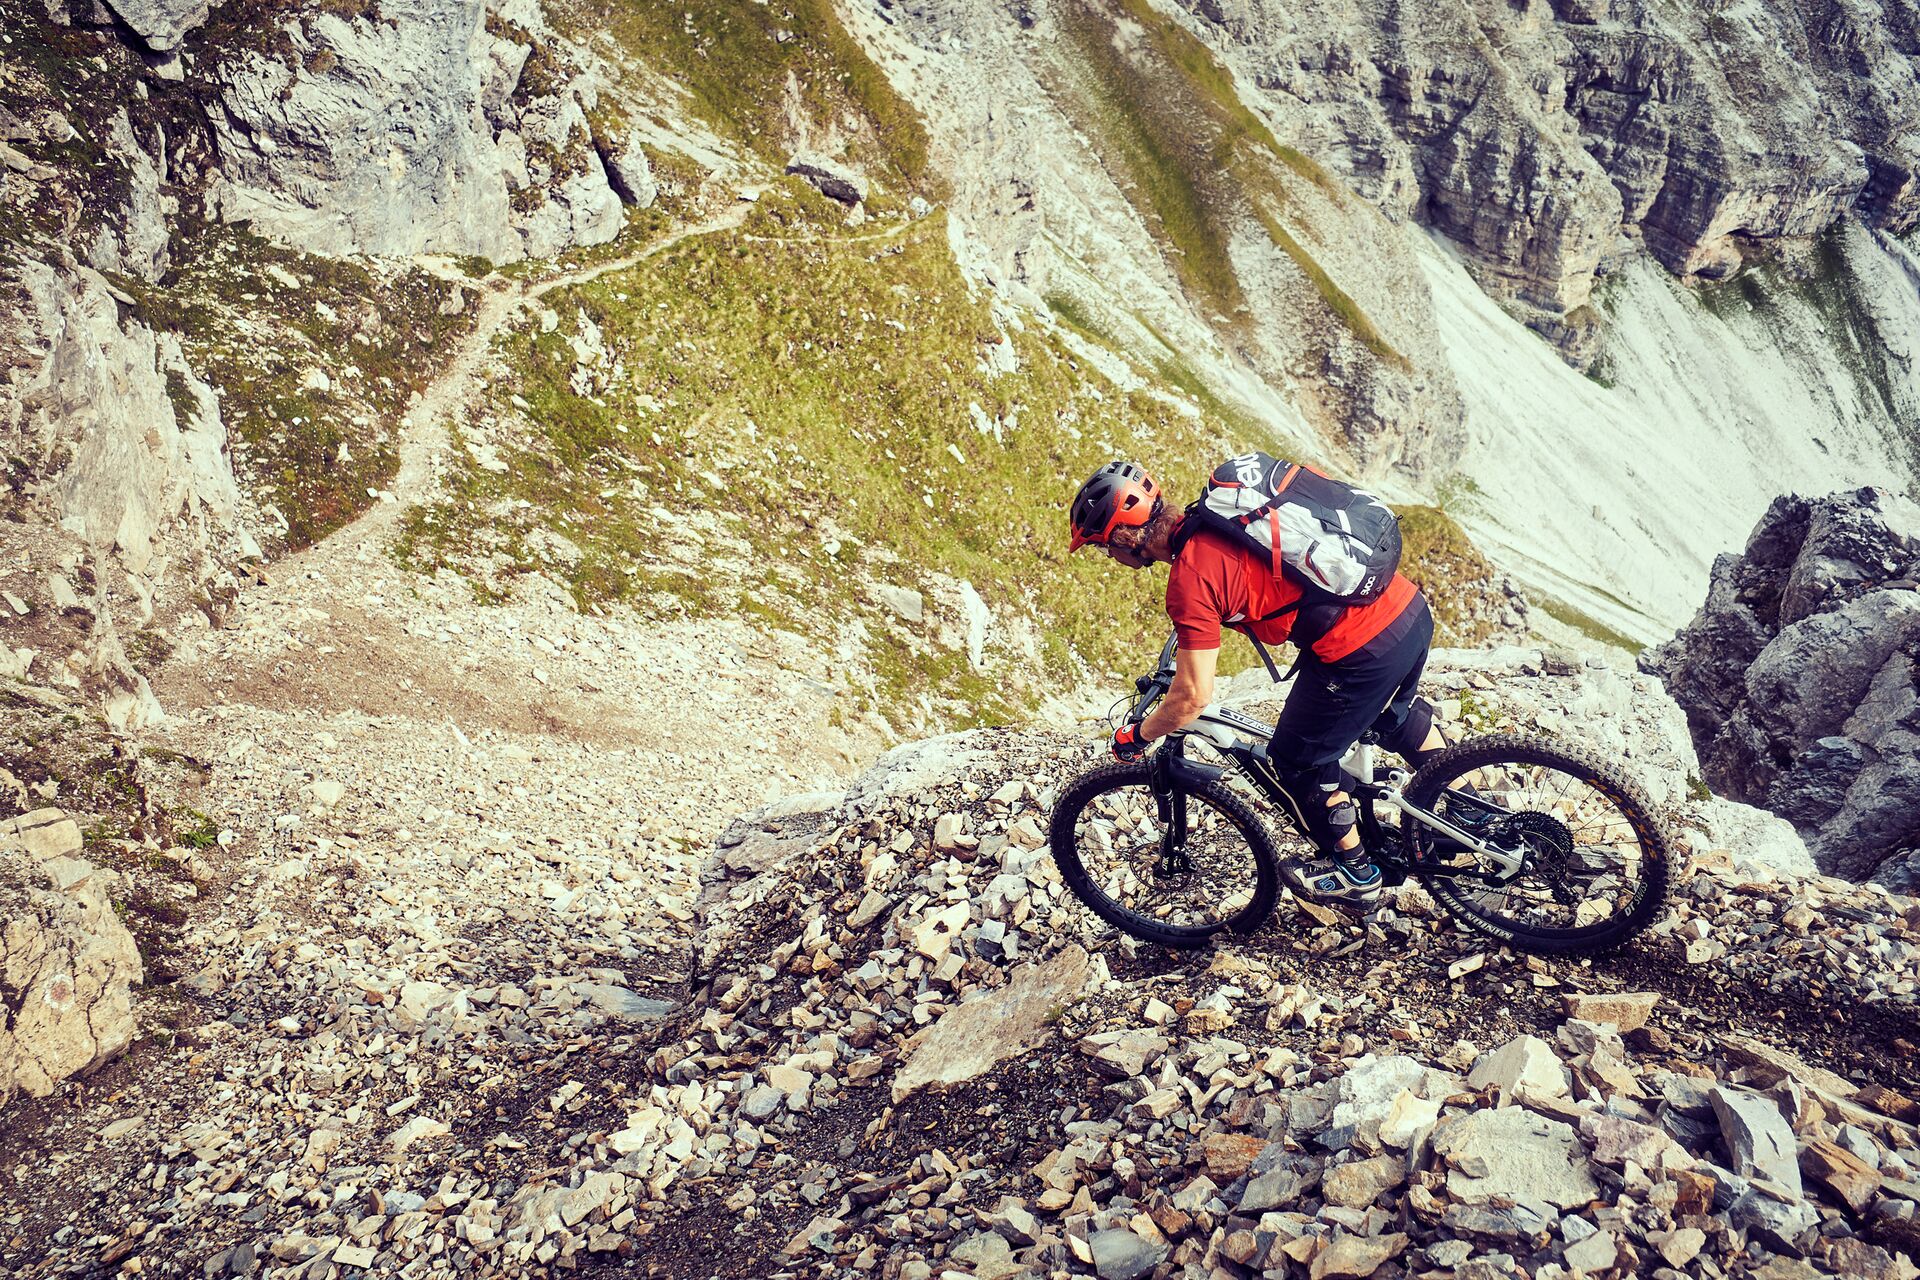
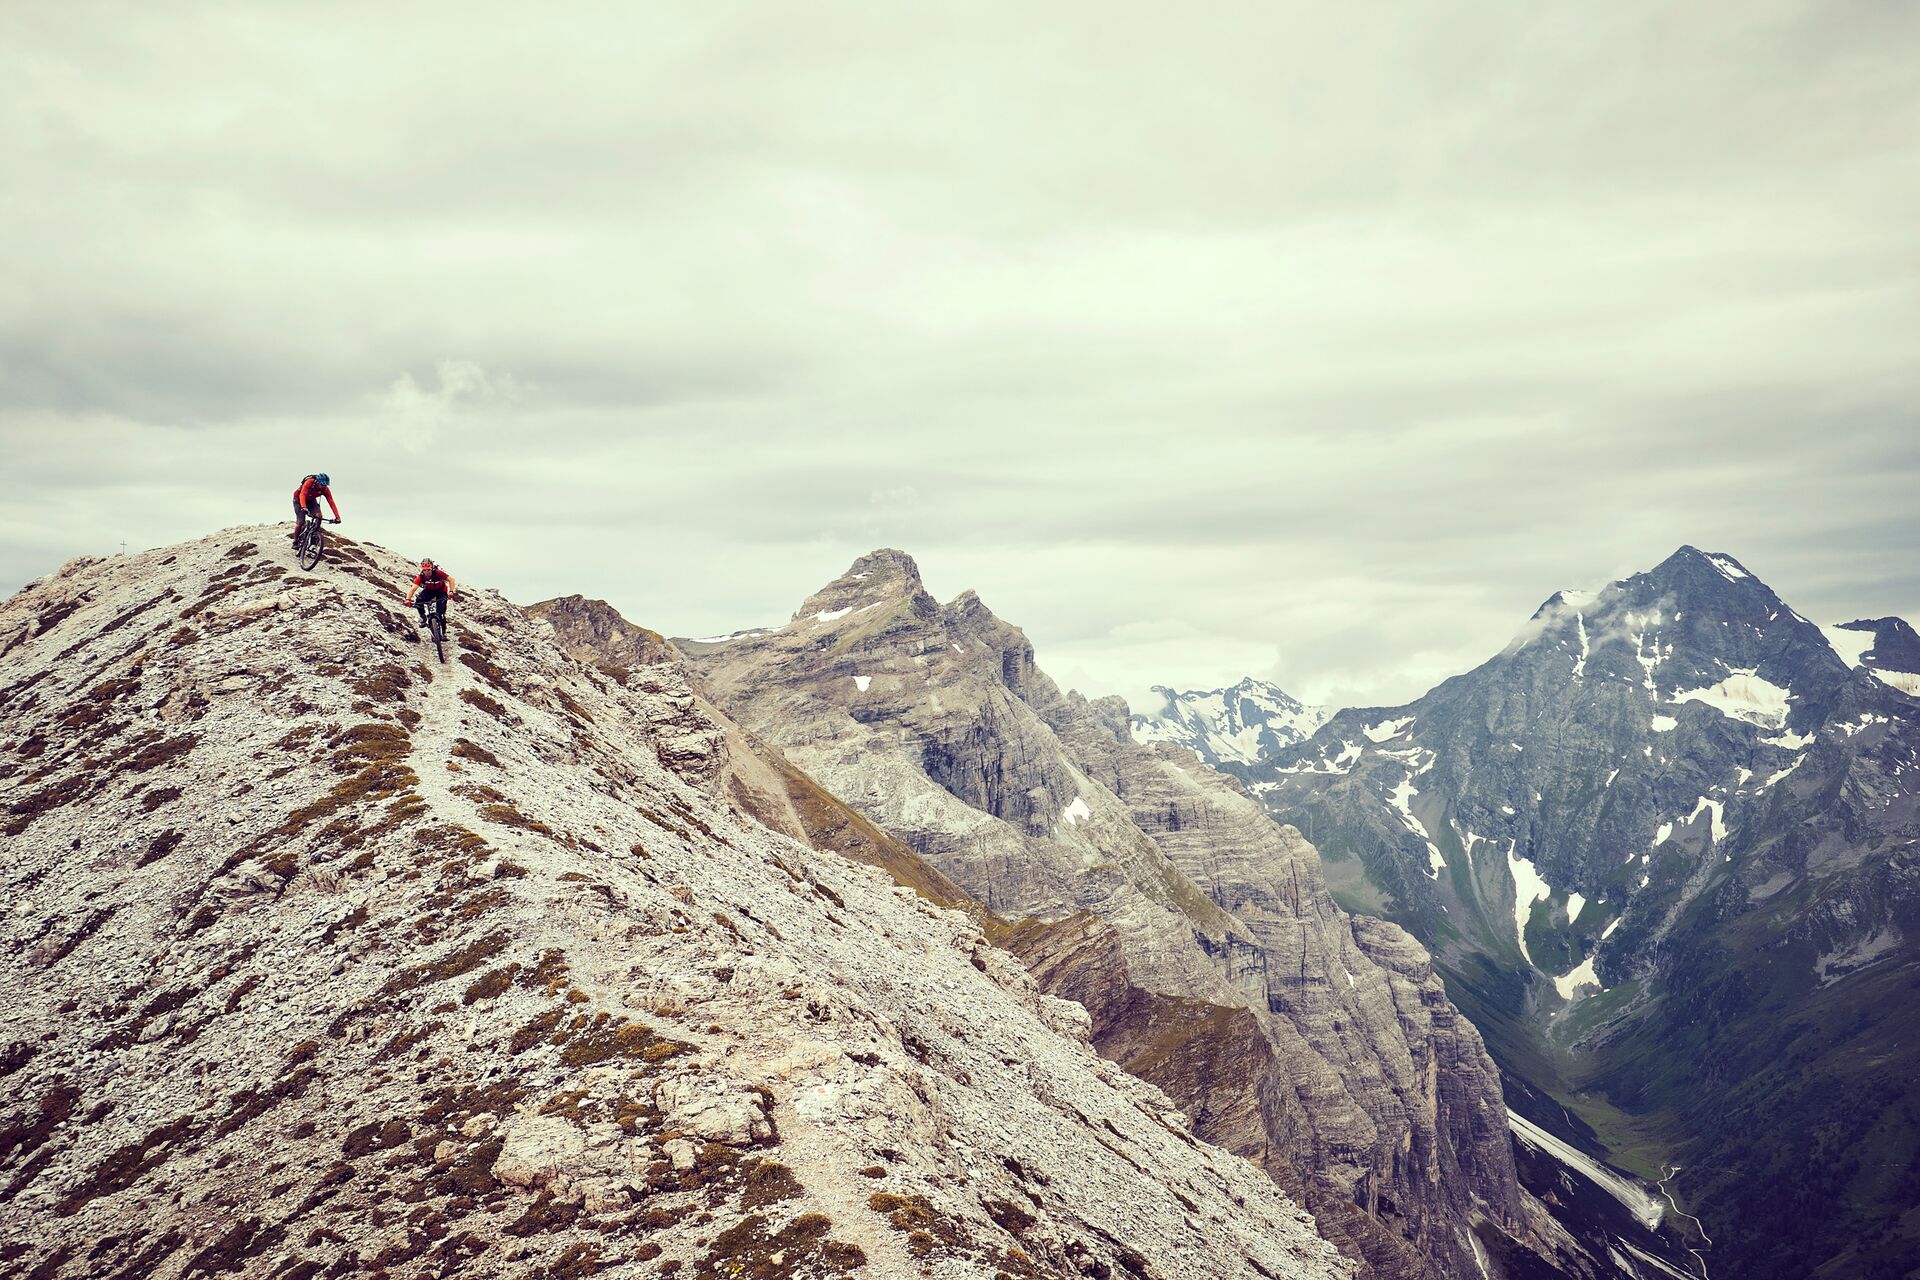
Navigation while biking 

Mountain bikers have the advantage that they usually ride on paths, trails or roads. That means the routes are part of a big network and can be found on maps. There usually should be no need for any complex navigation efforts. Still, you need to have certain skills to be able to find your way around with the help of a map and other navigational aids. Pro tip: Create a little roadbook as part of your preparations! Take advantage of breaks to memorise forks in the trail! Both methods help you move along smoothly, fast and stress-free.  

A map as a navigational aid 

A good old paper map is and remains an astoundingly convenient little helper when it comes to navigation. Attention to detail is less important in the case of a bike tour, so maps with a scale of 1:50,000 or 1:75,000 are perfectly apt. Topographic maps you can unfold will give you a good overview of a large route section. That’s the advantage they have over small displays and smartphone screens. Without needing any electricity, they give you all kinds of information about the route (fall hazard, public roads, etc.). 

Good to know: A topographic map is always oriented north-up, meaning north is at the top of the map. 

Find your way around with an altimeter

In combination with a map, the altimeter is the most important technical aid. It shows what you’ve already accomplished and how much elevation gain you’ve still got ahead of you. By the way: For the altimeter to give you precise measurements, you should keep recalibrating it. The best way to do that is at locations where you know the altitude or where you can determine it from a map!  

The bike computer 

You’re planning a longer trip across the Alps and you’ve even created a detailed roadbook for it? Then you’ll definitely appreciate the benefits of a built-in board computer on your E-MTB . The small computer gives you precise information about the route you’ve covered. Built-in GPS devices are usually very accurate and increasingly replace little speedometers. 

Smartphone and GPS

Apps for smartphones like those by Outdooractive , Komoot  or Alpenverainaktiv  are gaining in popularity with bikers. No wonder – they’re convenient little helpers for navigation! But be careful! The little blinking screens might distract you. Especially on busy roads or challenging trails, a lack of attention can lead to accidents. The devices on the handlebars might even be a danger in and of themselves. Tip: Mount them on the top tube right behind the head tube! Don’t forget: A sudden defect or flat battery – and all of a sudden, you’re stranded on the side of the trail. To make sure that this doesn’t happen to you, you should always have a paper map with you as well. Ideally, you should even bring a small, flexible solar panel (e.g. by SunnyBAG)  that you can attach to your backpack. It helps in case you run out of battery. 

The key questions about tour planning summed up 

The rider(s) 

  • What’s your own or the group’s risk tolerance? 
  • How big is the group? 
  • What’s the level of performance (regarding endurance/technique)?
  • What are the expectations? Are there any problems with fear of heights, etc.? 

The surroundings

  • Are there any dangers in alpine terrain (weather, snow, visibility, falling rocks, etc.)? 
  • What’s the level of technical difficulty of the route? 
  • How do you get there and back? 
  • Are there any alternatives to the chosen route? 
  • Where are the options for breaks and accommodation located? 
  • Are there any road or trail blocks? 
  • Is there public transportation in the area? 
  • Where can you find the local bike shops? 

The equipment 

  • How good is your bike (tools, spare parts)?
  • Is the battery of you E-MTB fully charged? 
  • What about clothing and weather protection? 
  • Which backpack do you need to bring along? 
  • Do you have a first-aid kit? 
  • Which supplies do you need on this route (food and water)? 
  • Which maps or guides are helpful? 
  • Have you packed your phone already? 

In case of emergency … 

Memorise this important emergency number: 112! That’s the EU emergency call number – it works on all cellular networks. It’s also important to adhere to the standardised rescue chain and carry out the following immediate action measures: 

  • securing the site of the accident
  • rescuing the person from the danger zone 
  • setting off an emergency call 
  • cardiopulmonary resuscitation, bleeding control, shock treatment, stable side position 
  • the proper emergency call covers the following 5 aspects: Who? Where? What? How many? And: Wait – don’t hang up before the emergency call centre has ended the call! 

If you keep all these things in mind before and during your tour, you’re perfectly prepared. In part 3 of our series, you’ll find out more information about the particularities of a tour with your E-MTB . Stay tuned!

Recommendations

© Simplon Fahrrad GmbH

Mid-drive vs. rear-hub motors for e-bikes

Find out how mid-drive motors and rear-hub motors differ, and which e-bike motor is best suited to your riding style. Learn more in the online magazine!
© John Gibson Photo and TransRockies Classic

TransRockies Classic – experience report of an MTB rider

Mark Almond rode the wildest trails of North America on his Cirex 120 during the TransRockies Classic. He shares the ups and downs of his exciting trip with us. More! 

Developer Yannick talks about the Rapcon

What does the development process of bikes like the Rapcon look like, and what makes this mountain bike stand out? Read the interview with Yannick!

Down country bikes

More suspension travel, a slacker head tube angle, ... Find out about the differences between down country and cross country bikes!