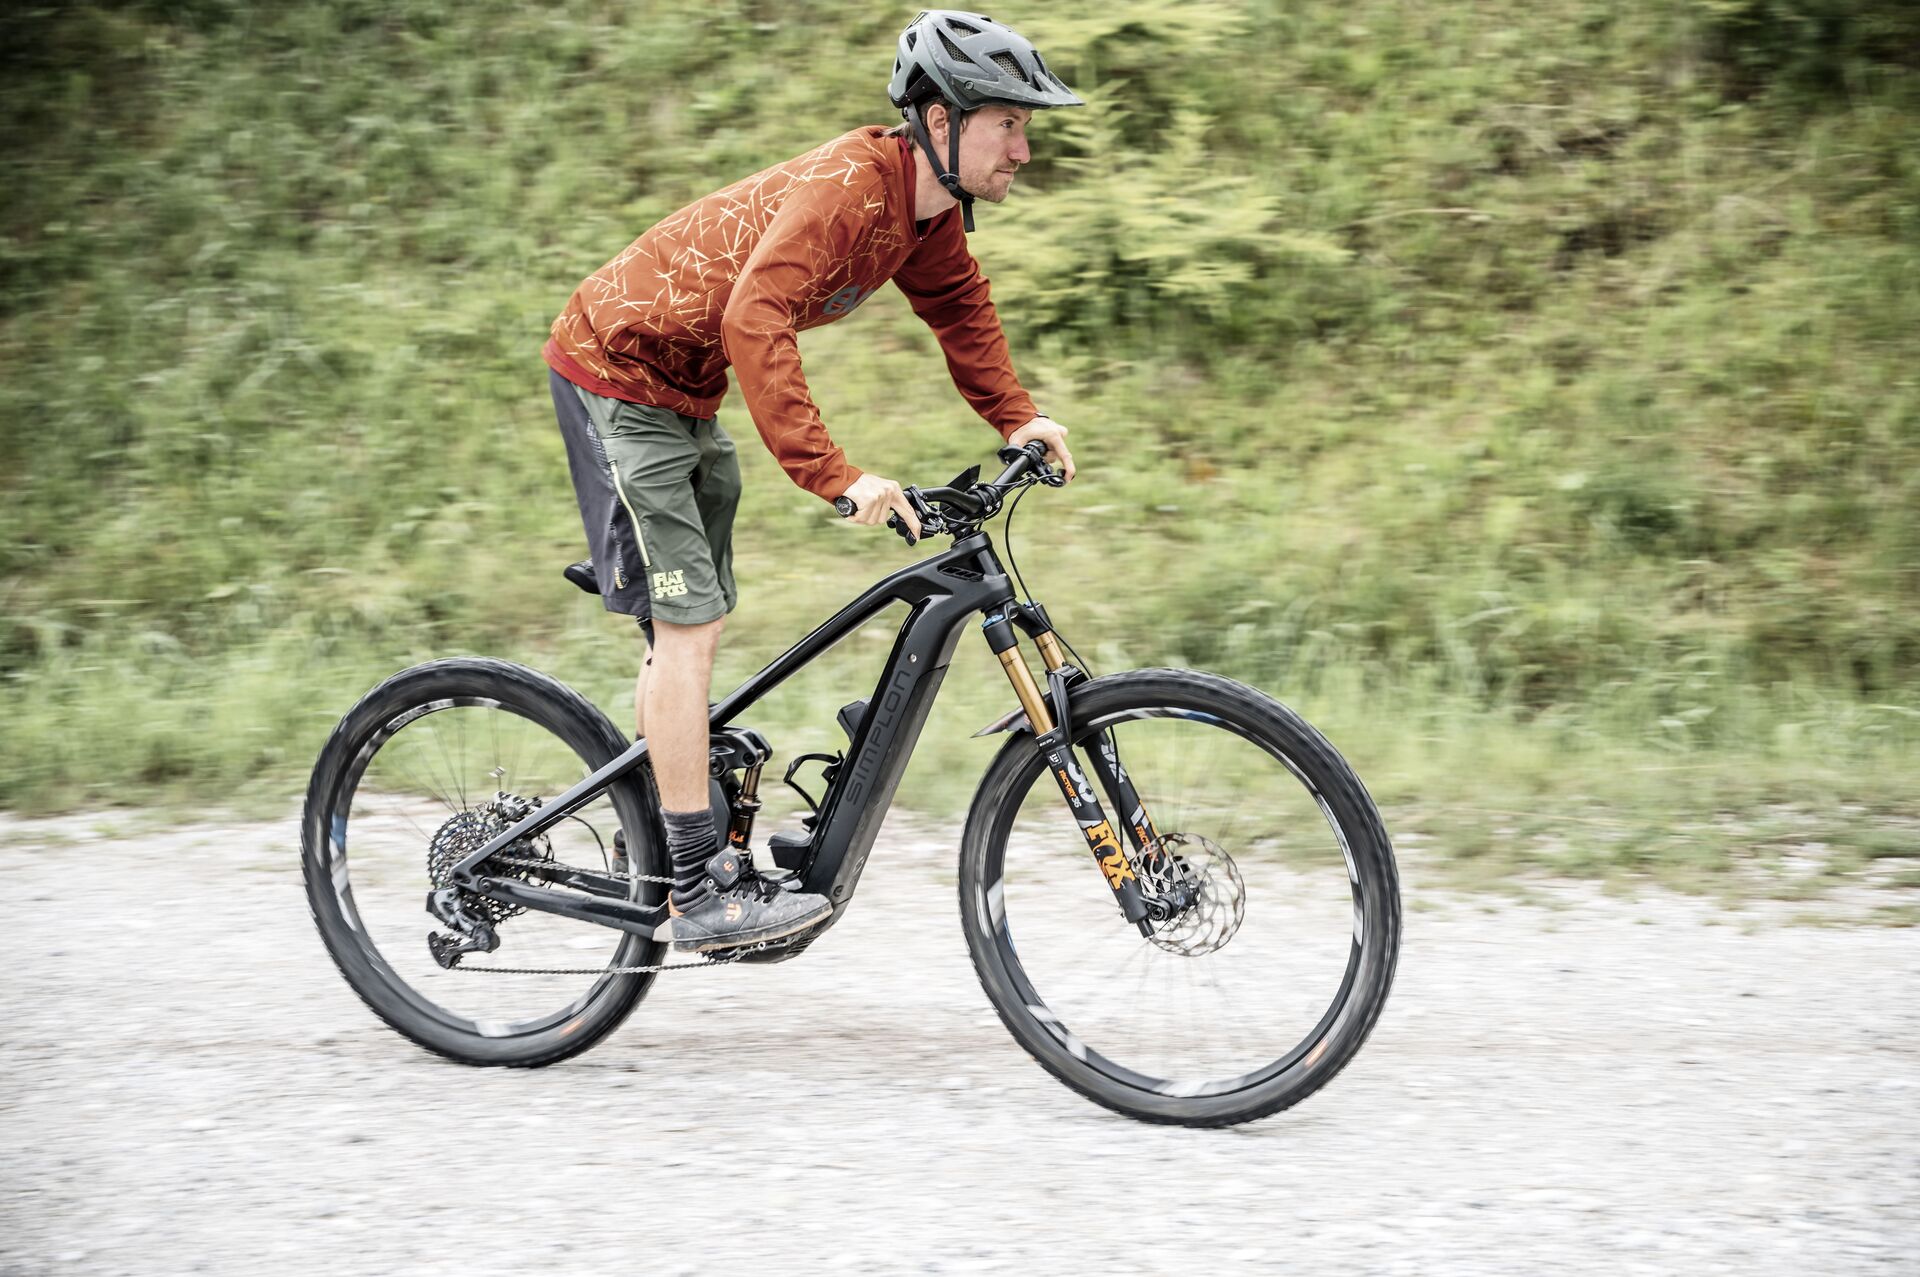
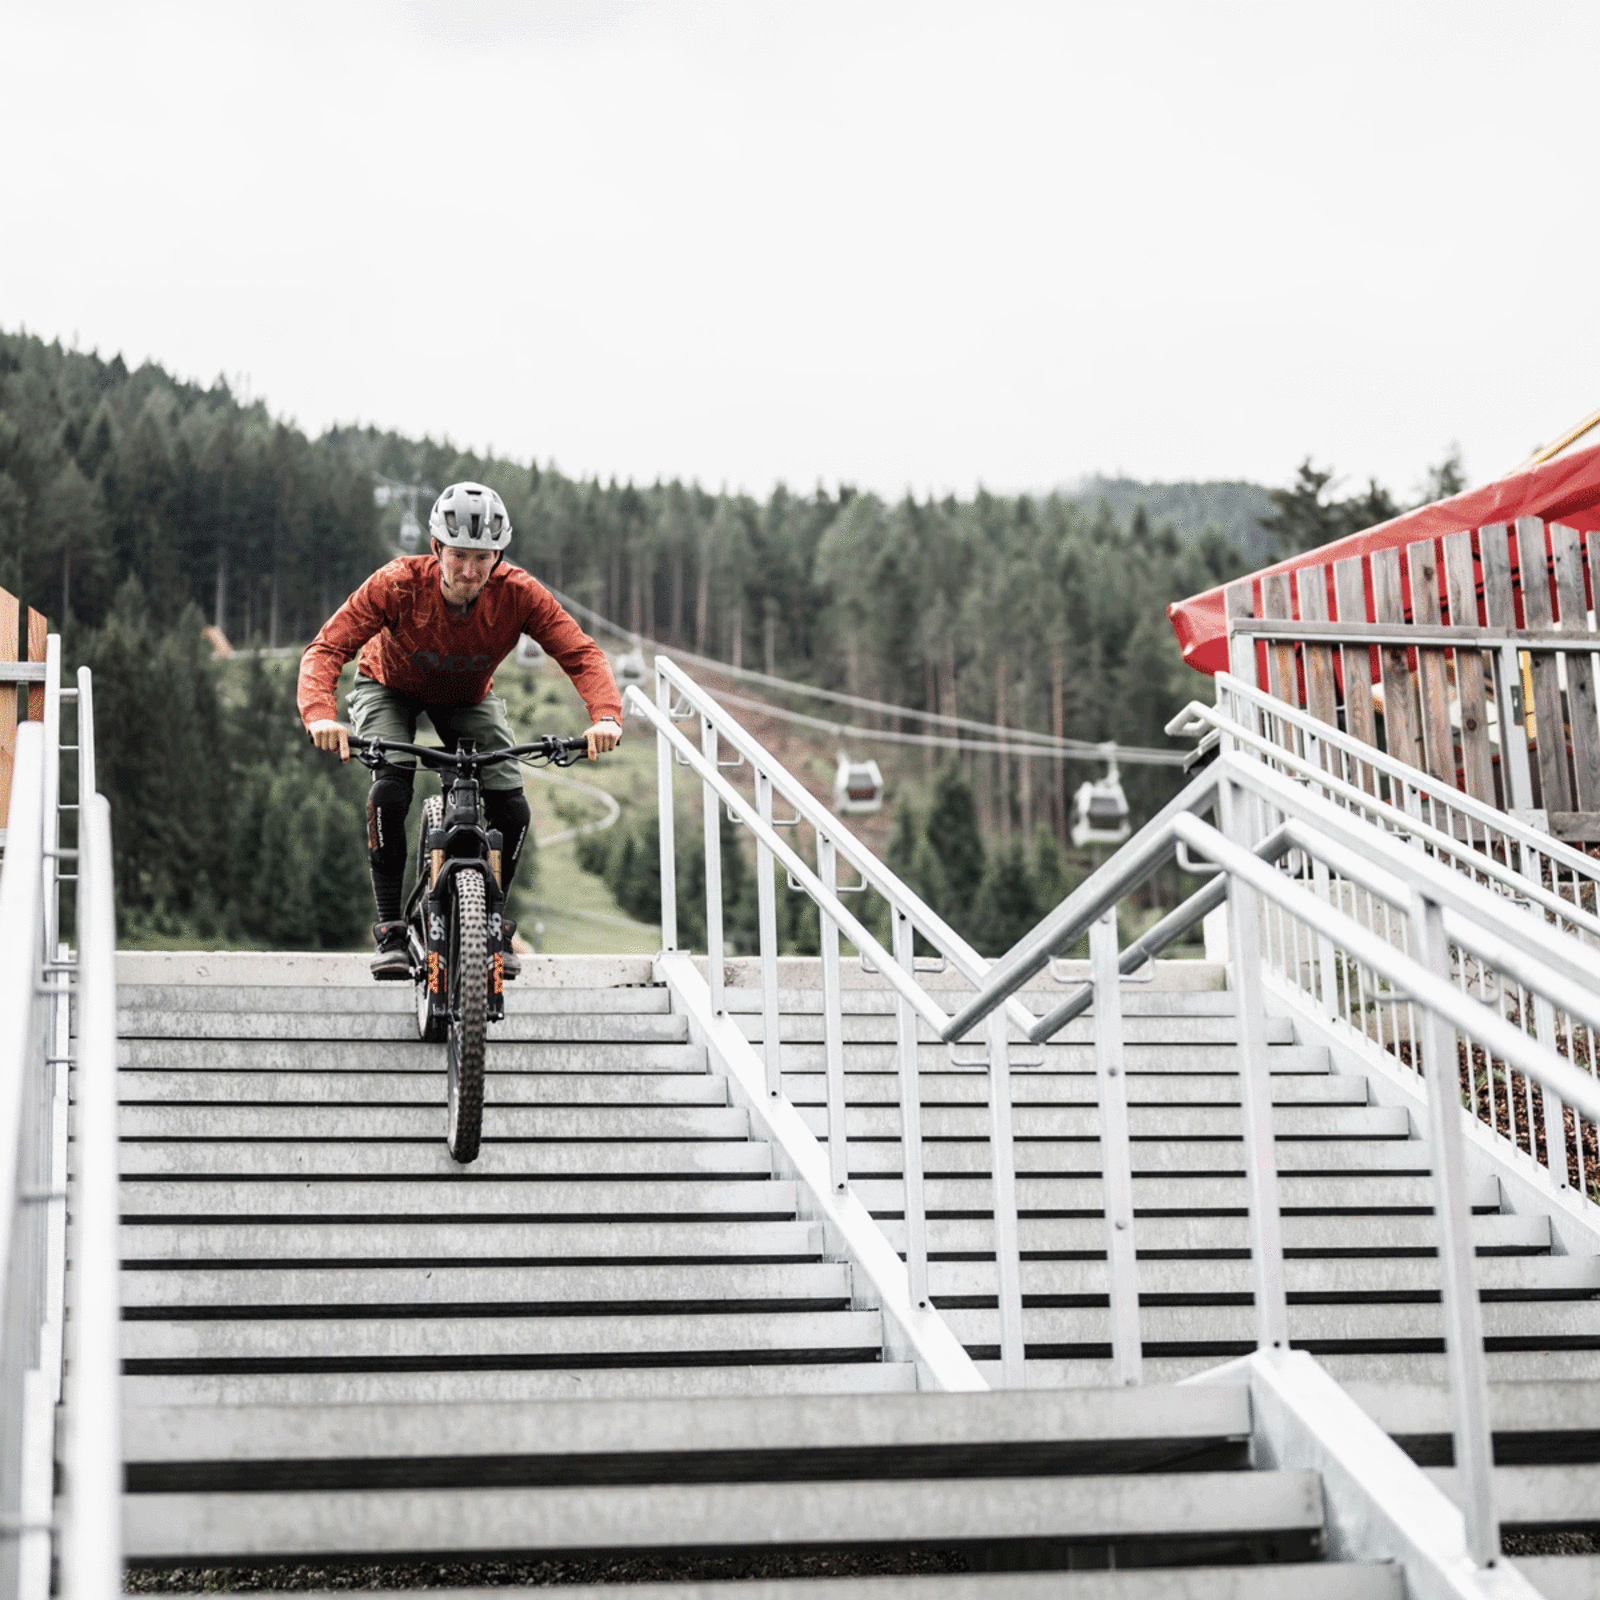
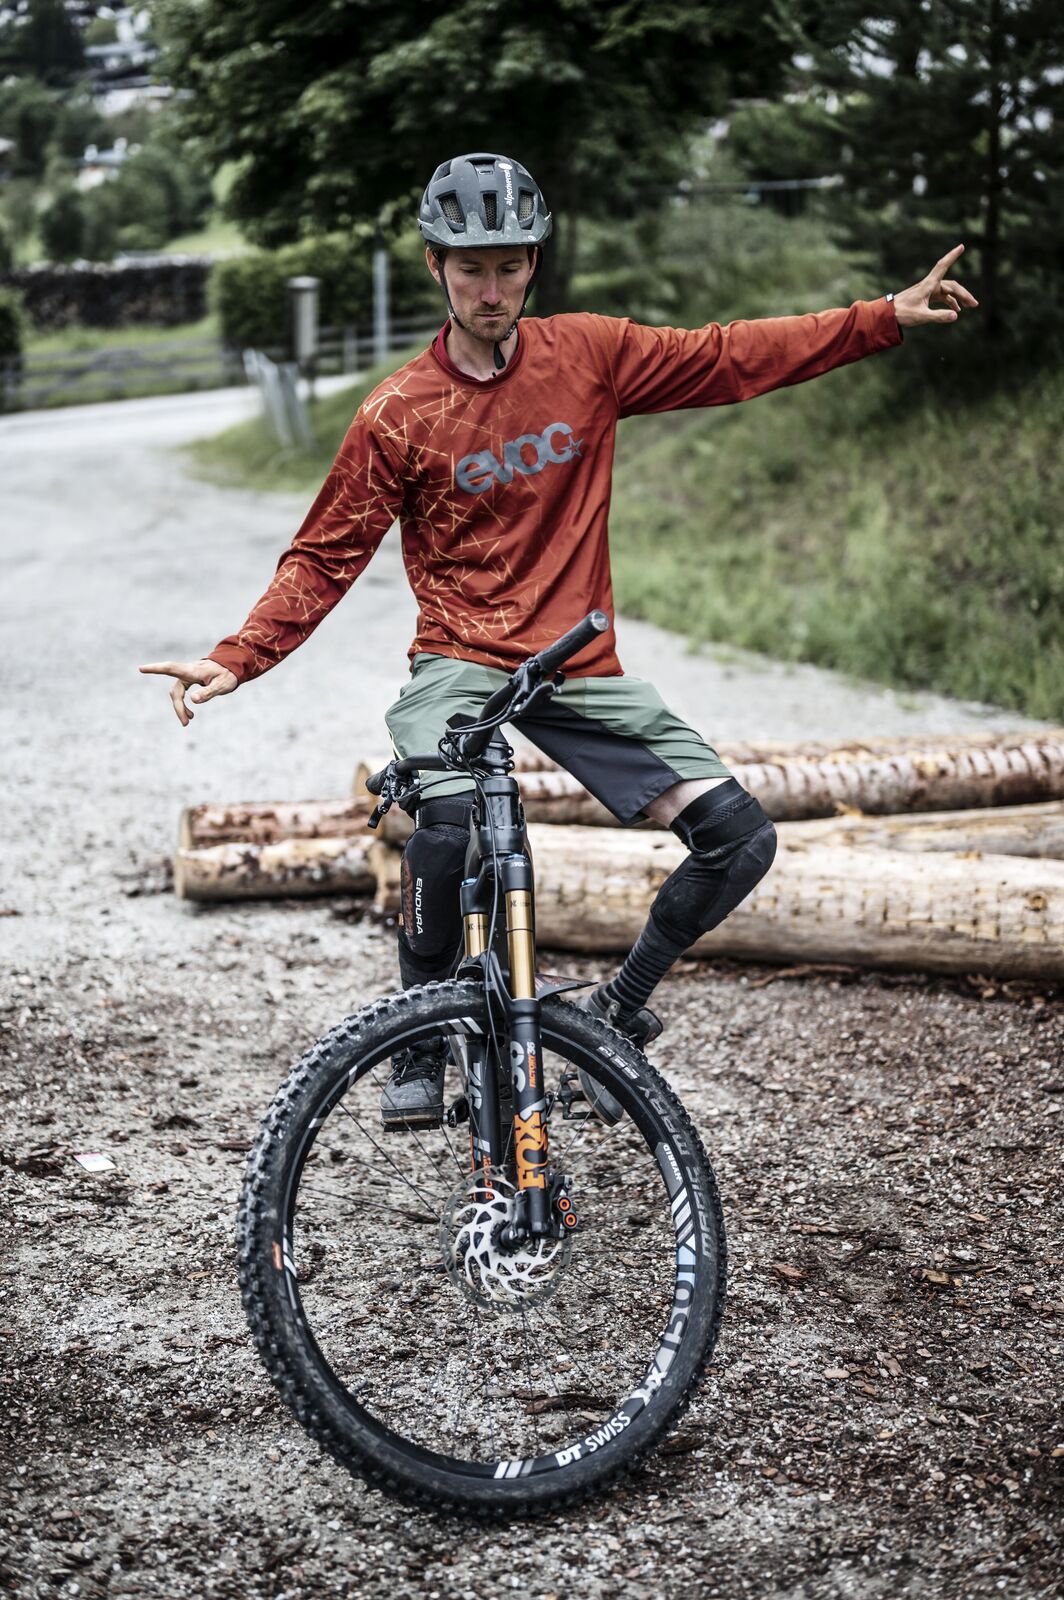
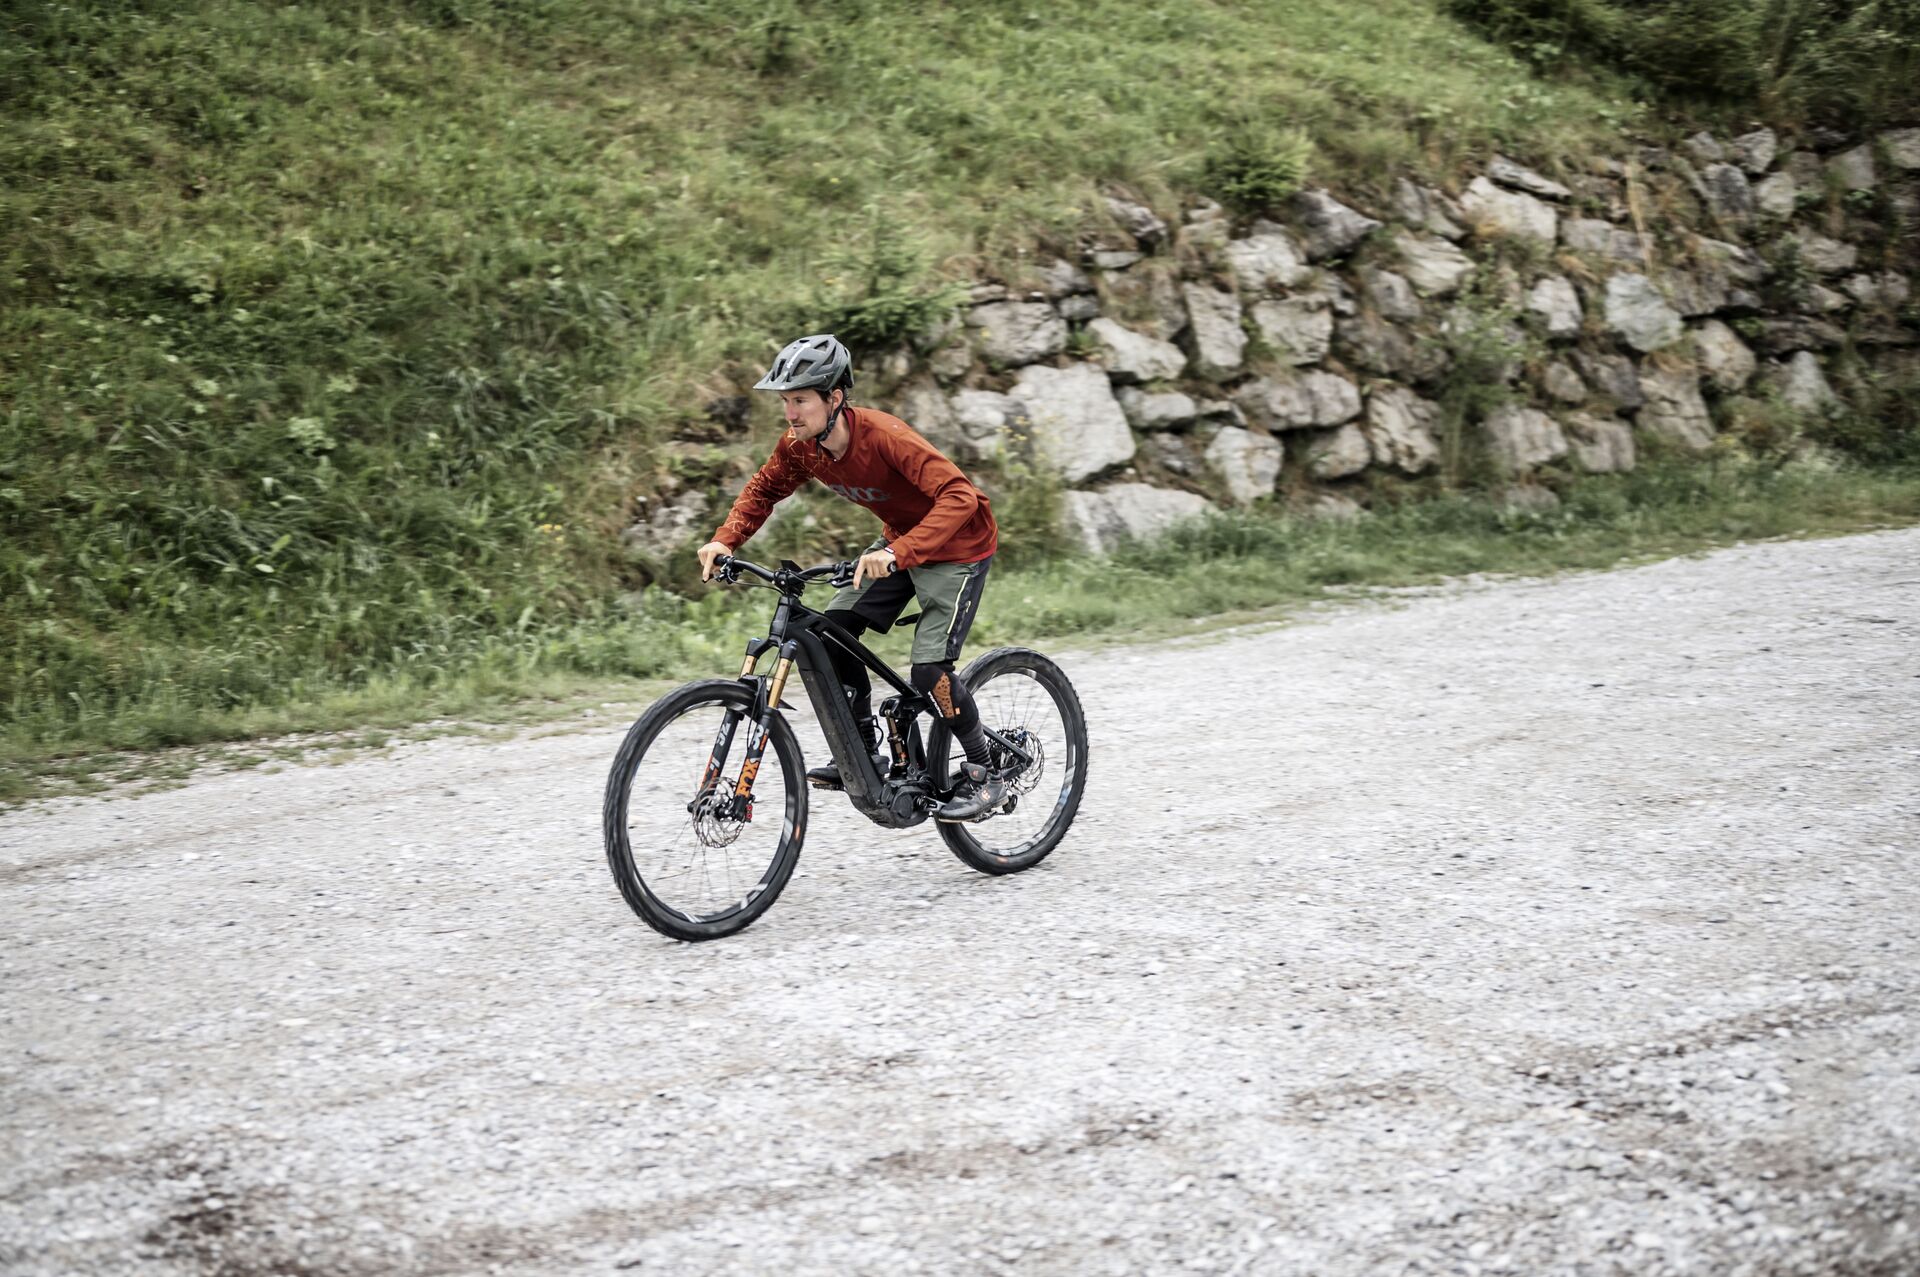
MTB technique – tips, tricks, drills and exercises
|Know-How
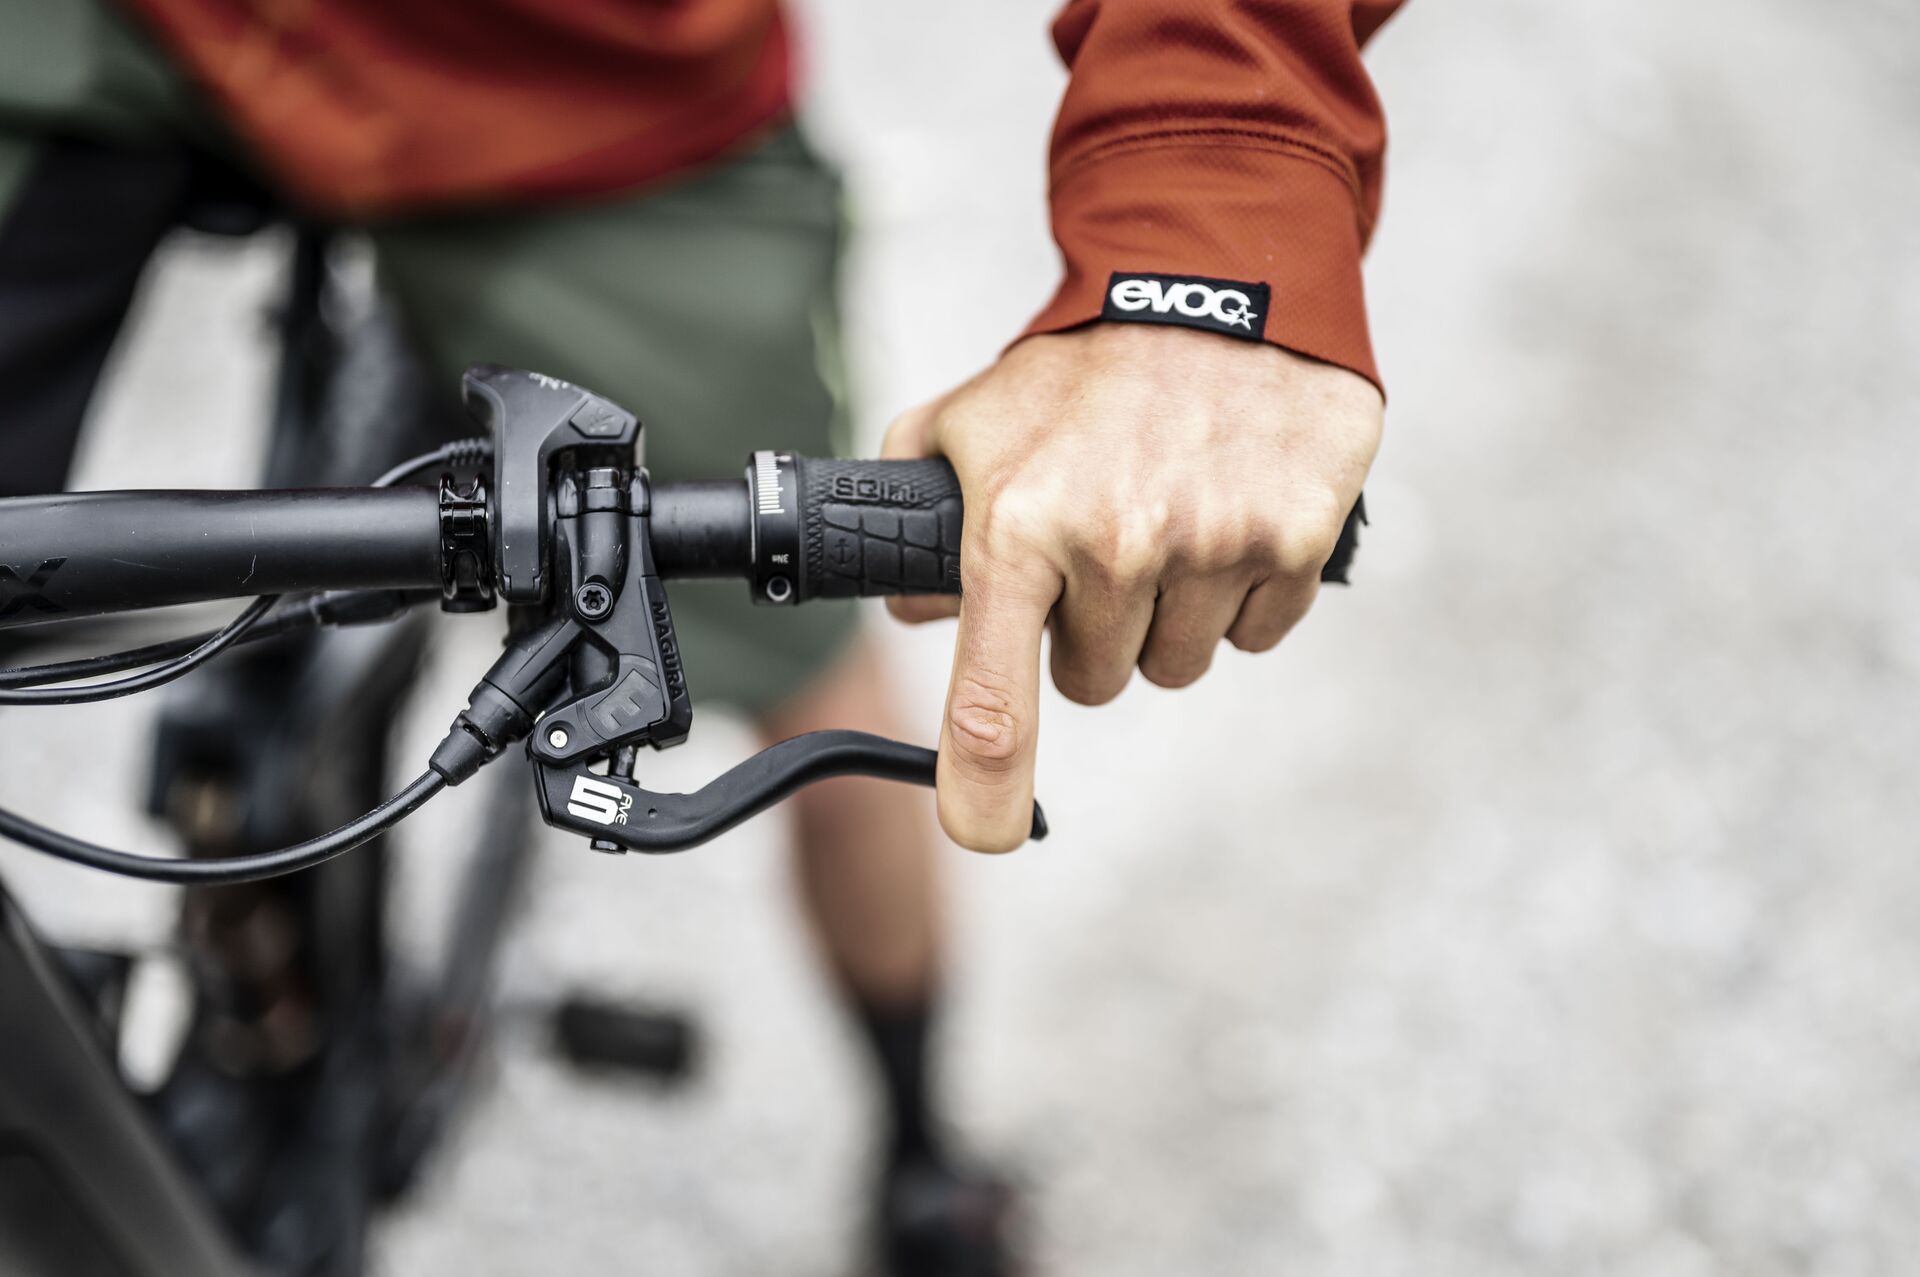
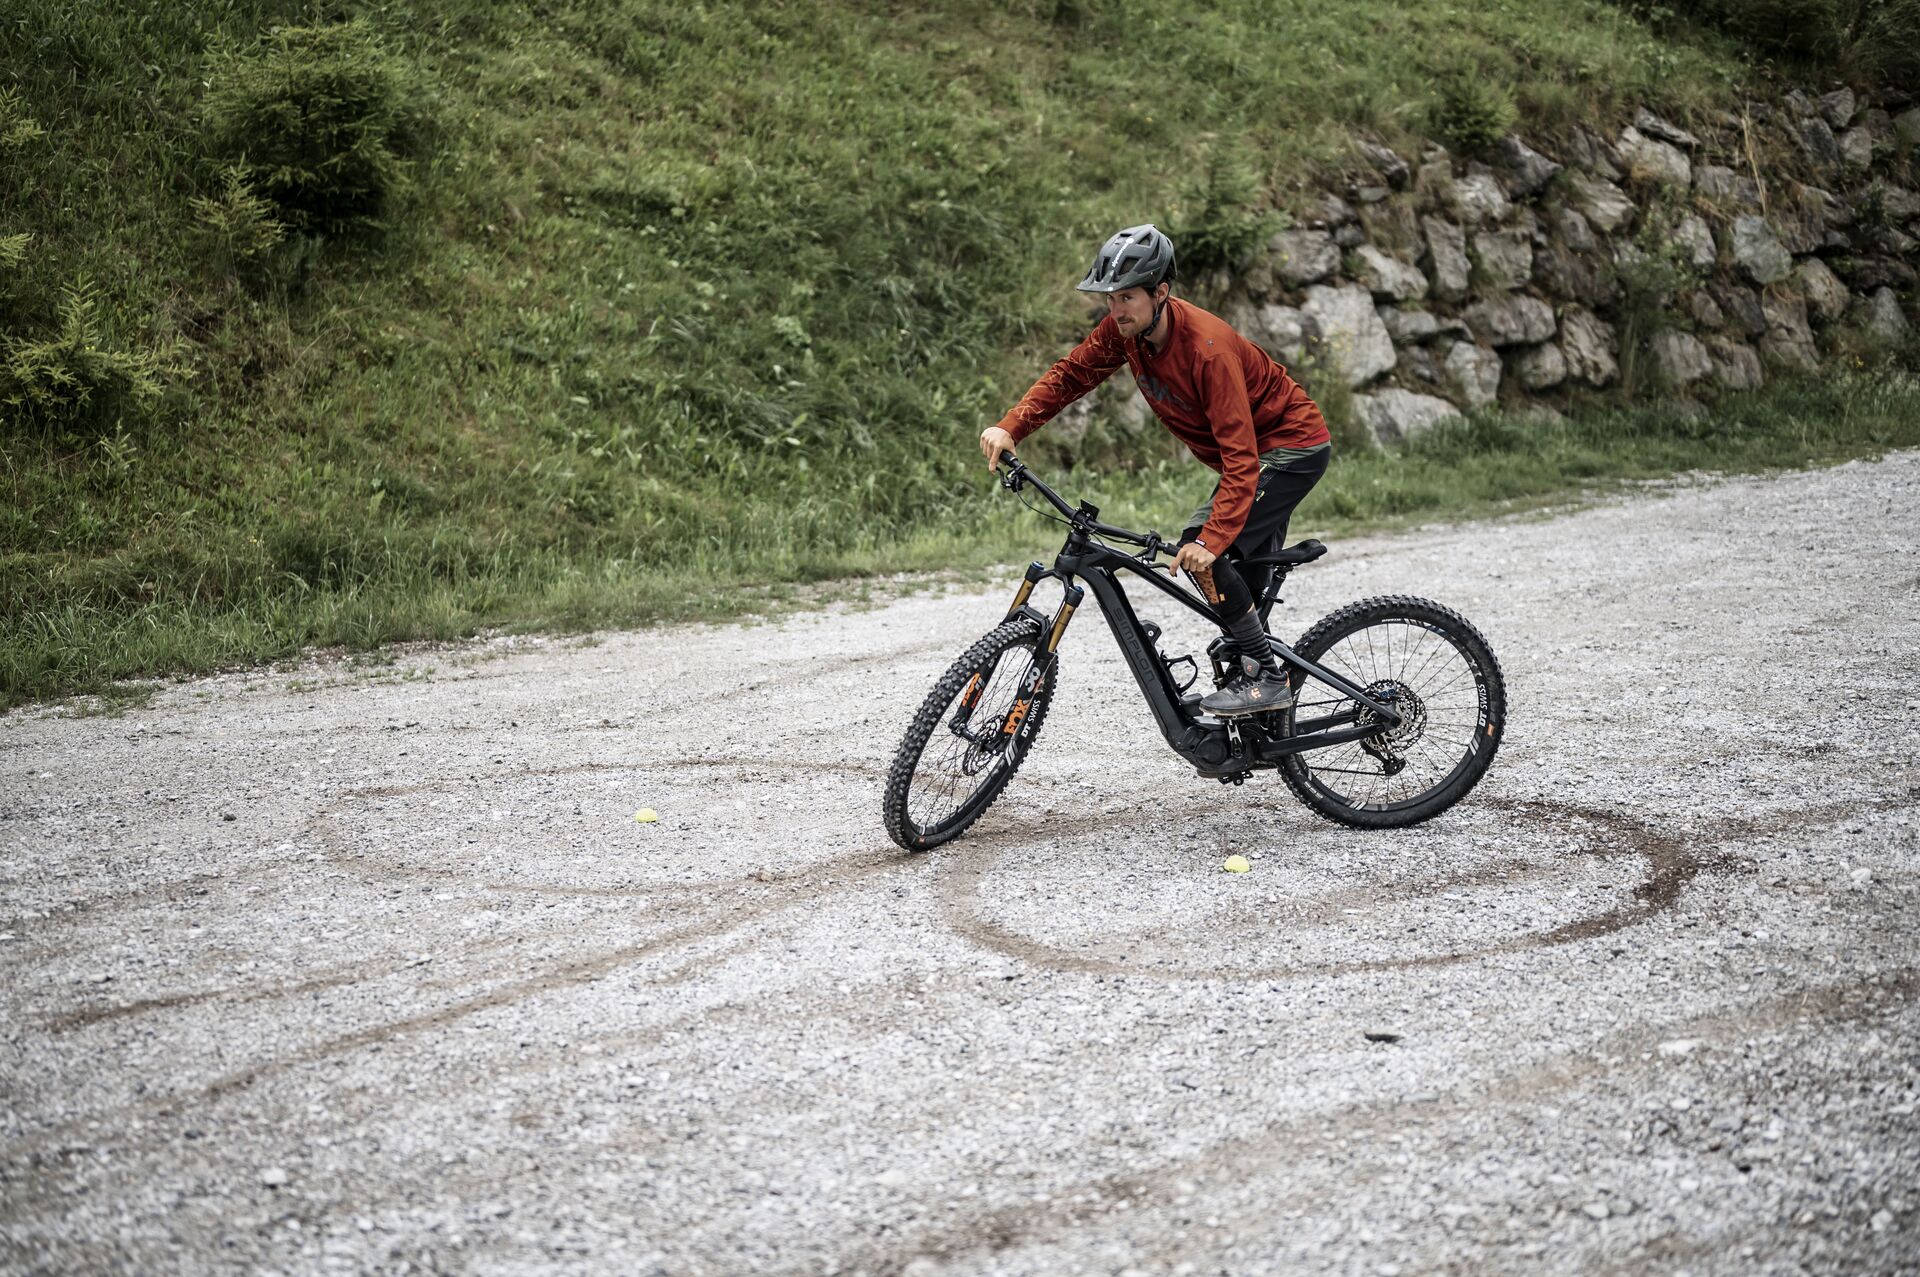
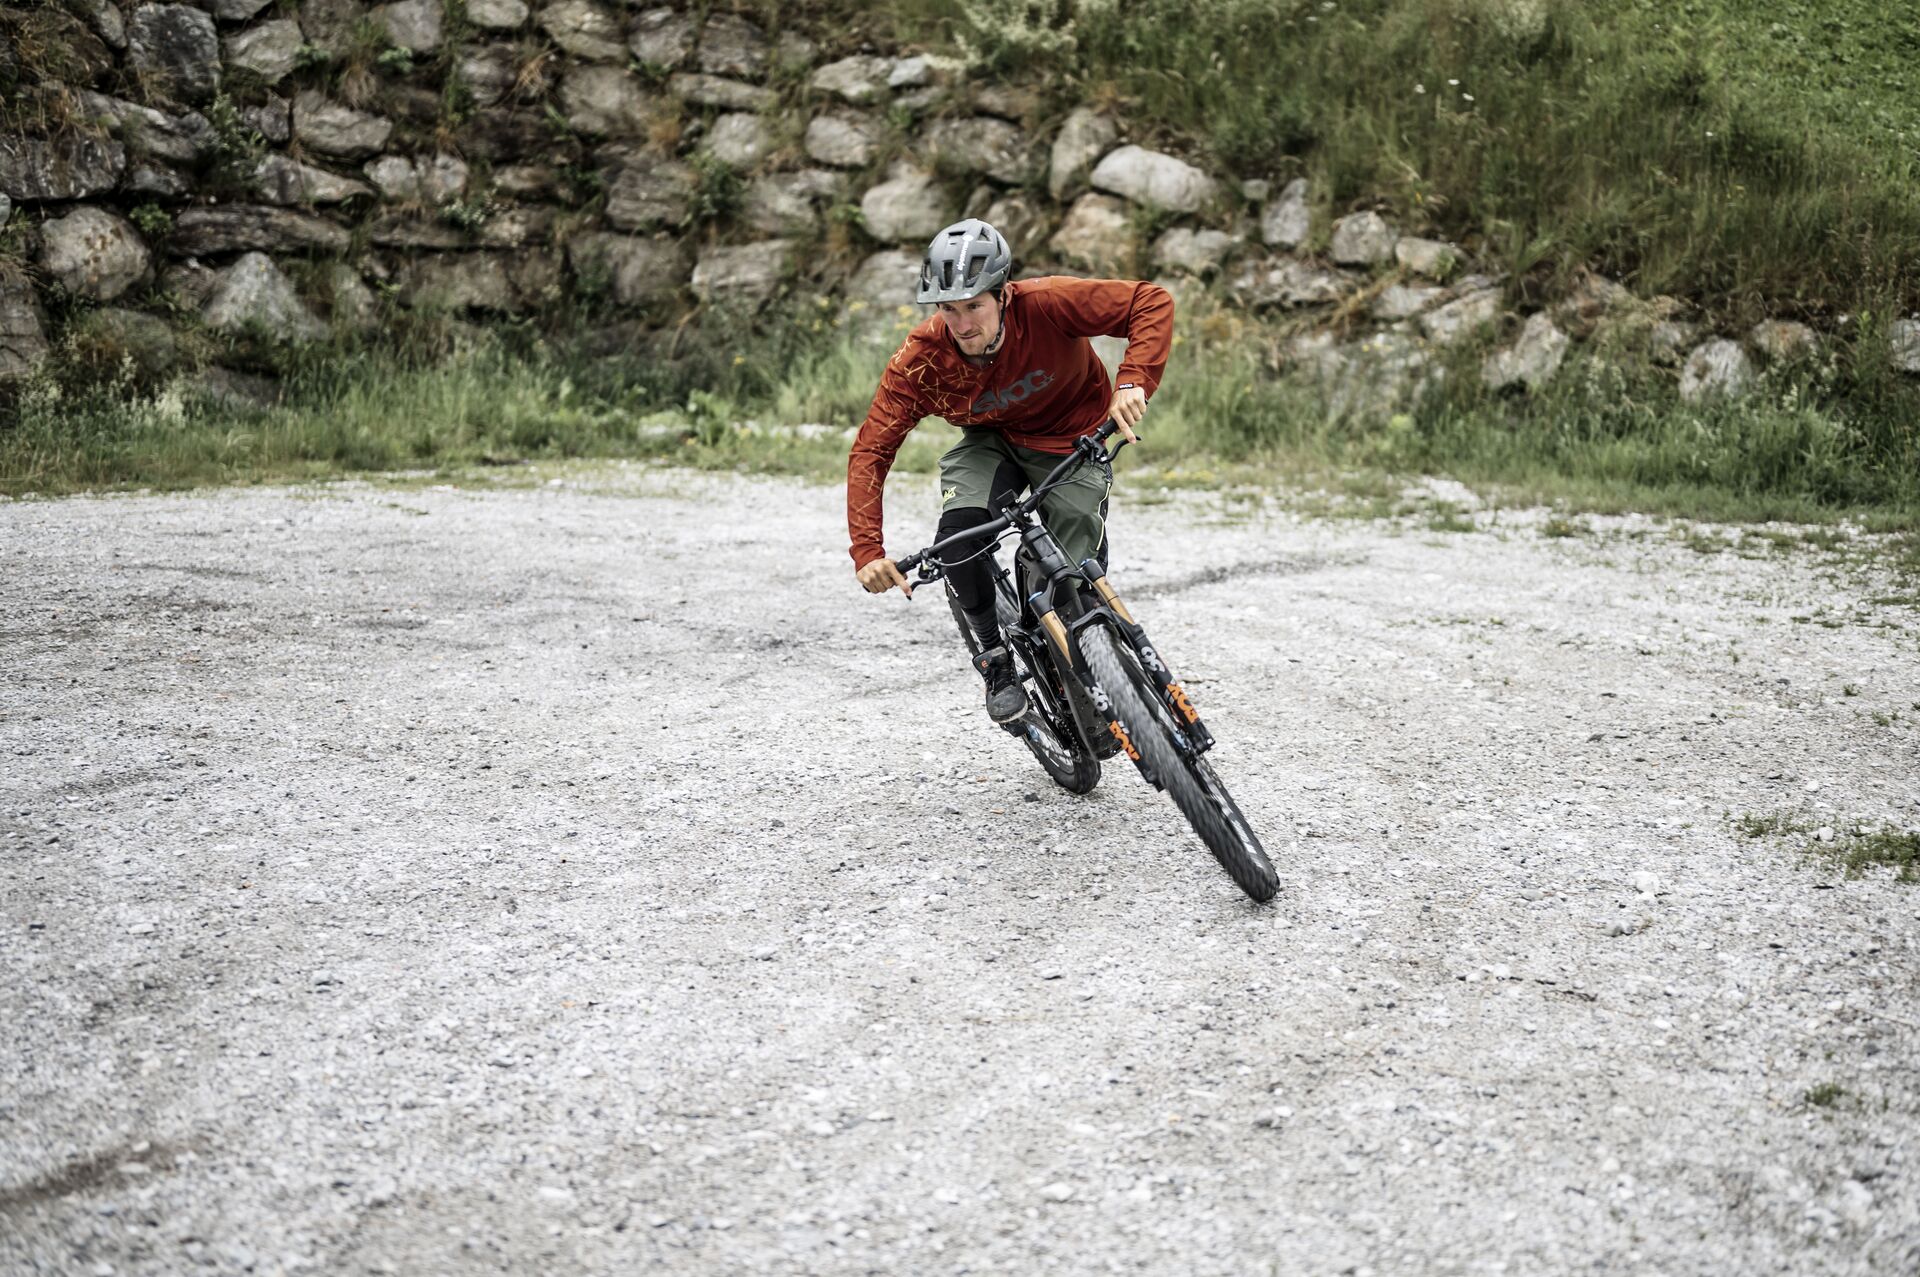
Learn how to master your MTB riding technique: the right basic position, proper gaze control, effective braking, cornering skills, tackling obstacles safely & more. Improve your MTB skills now!