Suspension setup guide for mountain bikes

|Know-How

Simplon helps you finetune your suspension setup: Learn how to set the sag, optimise the air-spring rate, tweak the rebound damping and more! 

Suspension setup: tuning and customisation

How to optimise your suspension setup

Imagine: You finally wrap your fingers around the handlebars of your brand-new mountain bike, ready to take it for a spin. There’s really no better feeling – but hang on a second! Did you properly set up the suspension? If the answer is “no”, you might want to take some time to finetune it.

The good news is: You don't need to be a pro, and it won’t take forever – promise! We’ll tell you exactly which dials to turn. With Simplon’s step-by-step guide, you can adjust your mountain bike suspension for optimal performance.

Not in the mood to do it yourself? Your local Simplon dealer will be happy to help!


Before you start

Preparation is key and will make the setup process much easier. 

You’ll need the following tools:

  • tape measure or folding rule to measure the sag 
  • shock pump to adjust the air pressure
  • small screwdriver for removing volume spacers 

Once you have your tools ready, you're good to start. Time to get down to the nitty-gritty!

Setting the sag

The first step is to adjust the sag – but what exactly is the sag, and why does it matter? For your mountain bike to optimally respond to every contour of the trail, you need to preload the suspension with your own body weight. The amount the springs (front fork or rear shock) drop from having weight on them is called sag or negative suspension travel. The sag is an important indicator of how much the suspension elements compress into their travel and how your bike feels when you ride it. 

Good to know: If there’s too little sag, the bike lacks grip. If there’s too much, the bike will bottom out or, at least, respond poorly. If that’s the case, you might want to check the compression damping settings as well.

To adjust the sag, you need to adjust the air pressure in the air spring. To do this, the bike needs to be preloaded with your body weight.

Tip: When you’re setting the sag, be sure to wear your full cycling gear. If you usually ride with a backpack, you should wear it during the setup process as well.

Step 1: Find support

Once you’re all geared up, find a wall, tree or something similar that you can lean your bike against. If you are doing the setup together with friends, you can ask them for help.

Step 2: Get on the bike

Lean the bike with the handlebars against a neutral surface and assume your standard position on the bike. Hold yourself over the centre of the frame with your arms and legs slightly bent. 

Important: Make sure that the ground is as level as possible, otherwise you might get a false reading.

Now bounce up and down a few times to free up the seals. Allow the bike to settle for a few seconds. Here’s where it gets a bit tricky: You need to slide the O-ring all the way down the stanchion without moving too much. That’s why, ideally, you should have someone help you with this. 

Make sure you get off the bike slowly and carefully, so as not to disturb the O-ring. Once you’re off, you’ll see that the stanchion will have come out of the lower leg again. How far? The O-ring will tell you!

Pro tip: Don’t hold the breaks while you do this, as this might give you an incorrect reading. 

Step 3: Take measurements

Now it’s time to grab your tape measure. Measure the distance between the O-ring and the seal. This number then needs to be put in relation to the total spring travel. You can either measure the total spring travel yourself or find it in your bike's owner manual. 
Divide the distance between the O-ring and the seal by the total travel and you have your sag. For the percentage, multiply the result by 100. 

Here is an example: 
distance between O-ring and seal: 15 mm
total travel: 50 mm


sag = (15 mm ÷ 50 mm) x 100 = 30 %.

As a rough guideline, you should aim for a sag of about 20 % for the fork and 30 % for the rear shock. If yours is less than that, you can simply let some air out. If it’s more than that, you can add air with a shock pump. 
Recommended percentages or not: What matters most is that you feel comfortable on your bike.

By the way: It doesn't matter whether you take the measurement standing up or sitting down. But whichever you chose, be sure to stick to one position. If you want to adjust the setup in the future, do the adjusting in the same position.

Adjusting the rebound damping

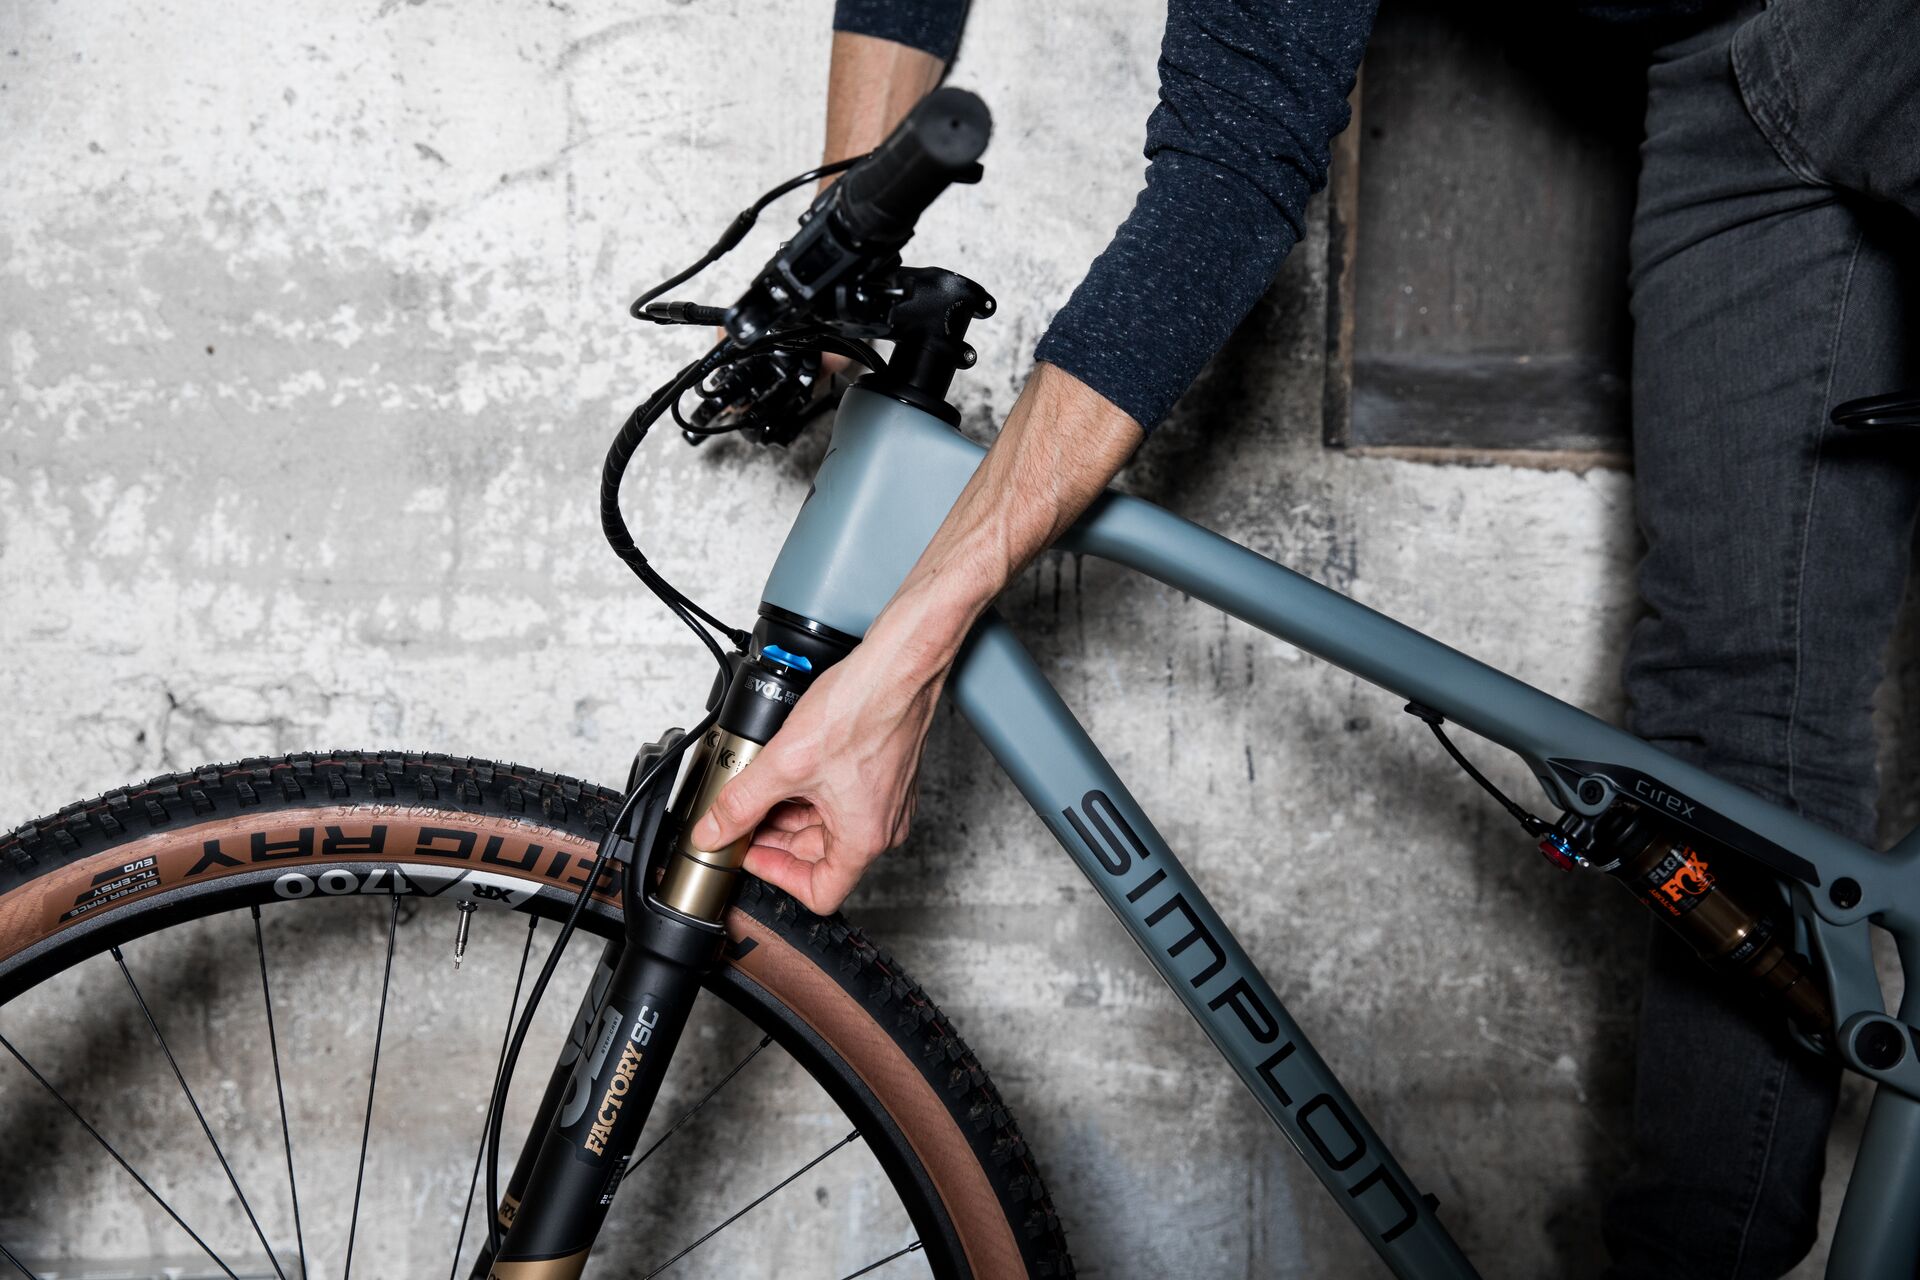
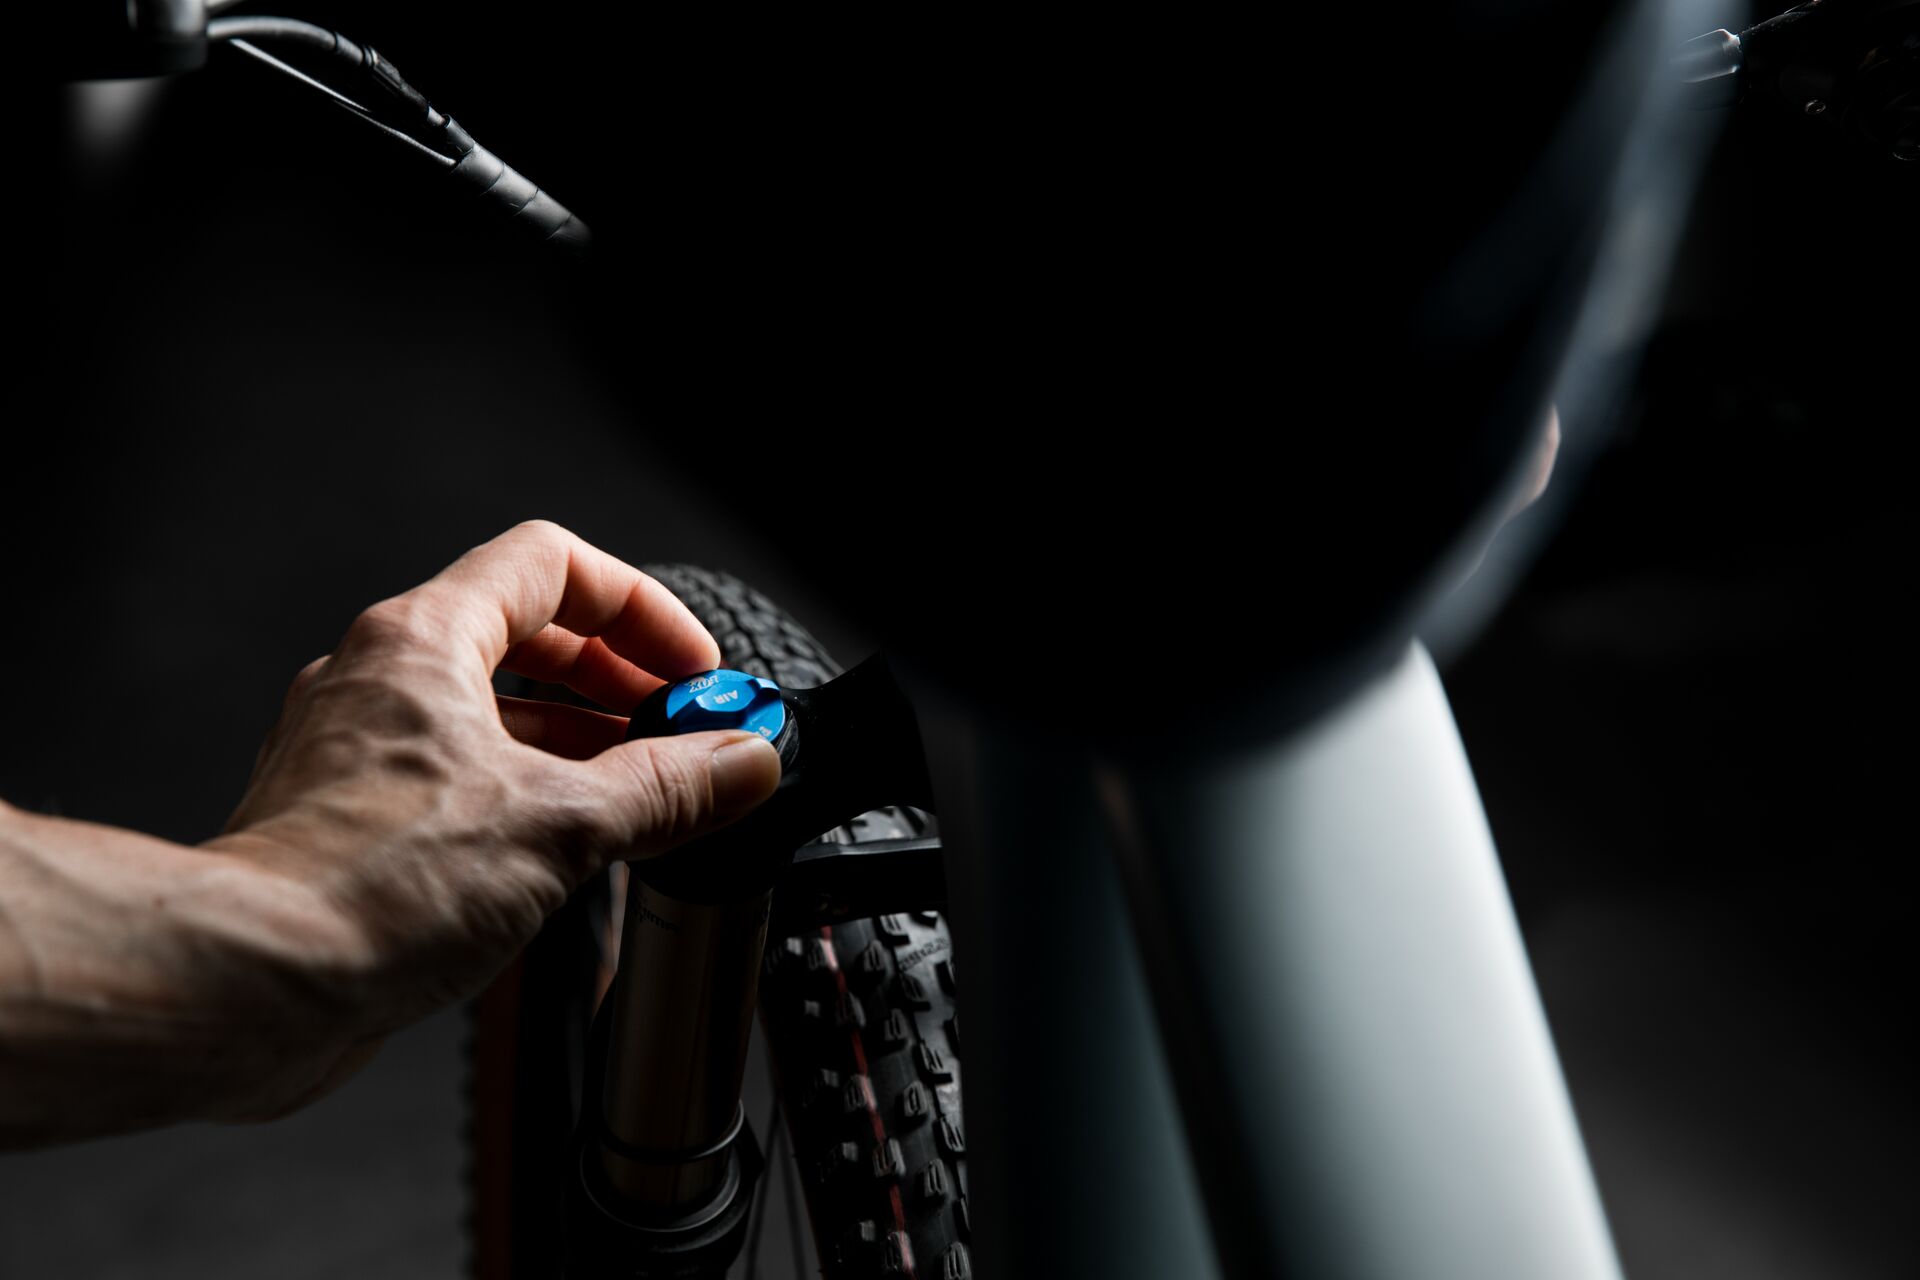
The rebound damping controls the speed at which your suspension recovers – i.e. extends – after it was compressed. The adjuster knob can usually be found at the bottom of the right-hand leg and is protected by a cap. Depending on the fork model, there might be separate adjusters for high-speed and low-speed rebound.

The recommendations of the manufacturers are usually a good starting point. In essence, the rebound damping counters the air spring. Hence, it’s relatively easy to standardise the settings, because: If you know how much air pressure is in the spring, you also know with what force it pushes the stanchions back out of the lower legs of the fork. Based on this, you can finetune the settings of the rebound damping to limit movement to an optimal level. 

Of course, the basic recommendations are not set in stone. You can adjust the rebound damping to suit your riding style by speeding it up or slowing it down.

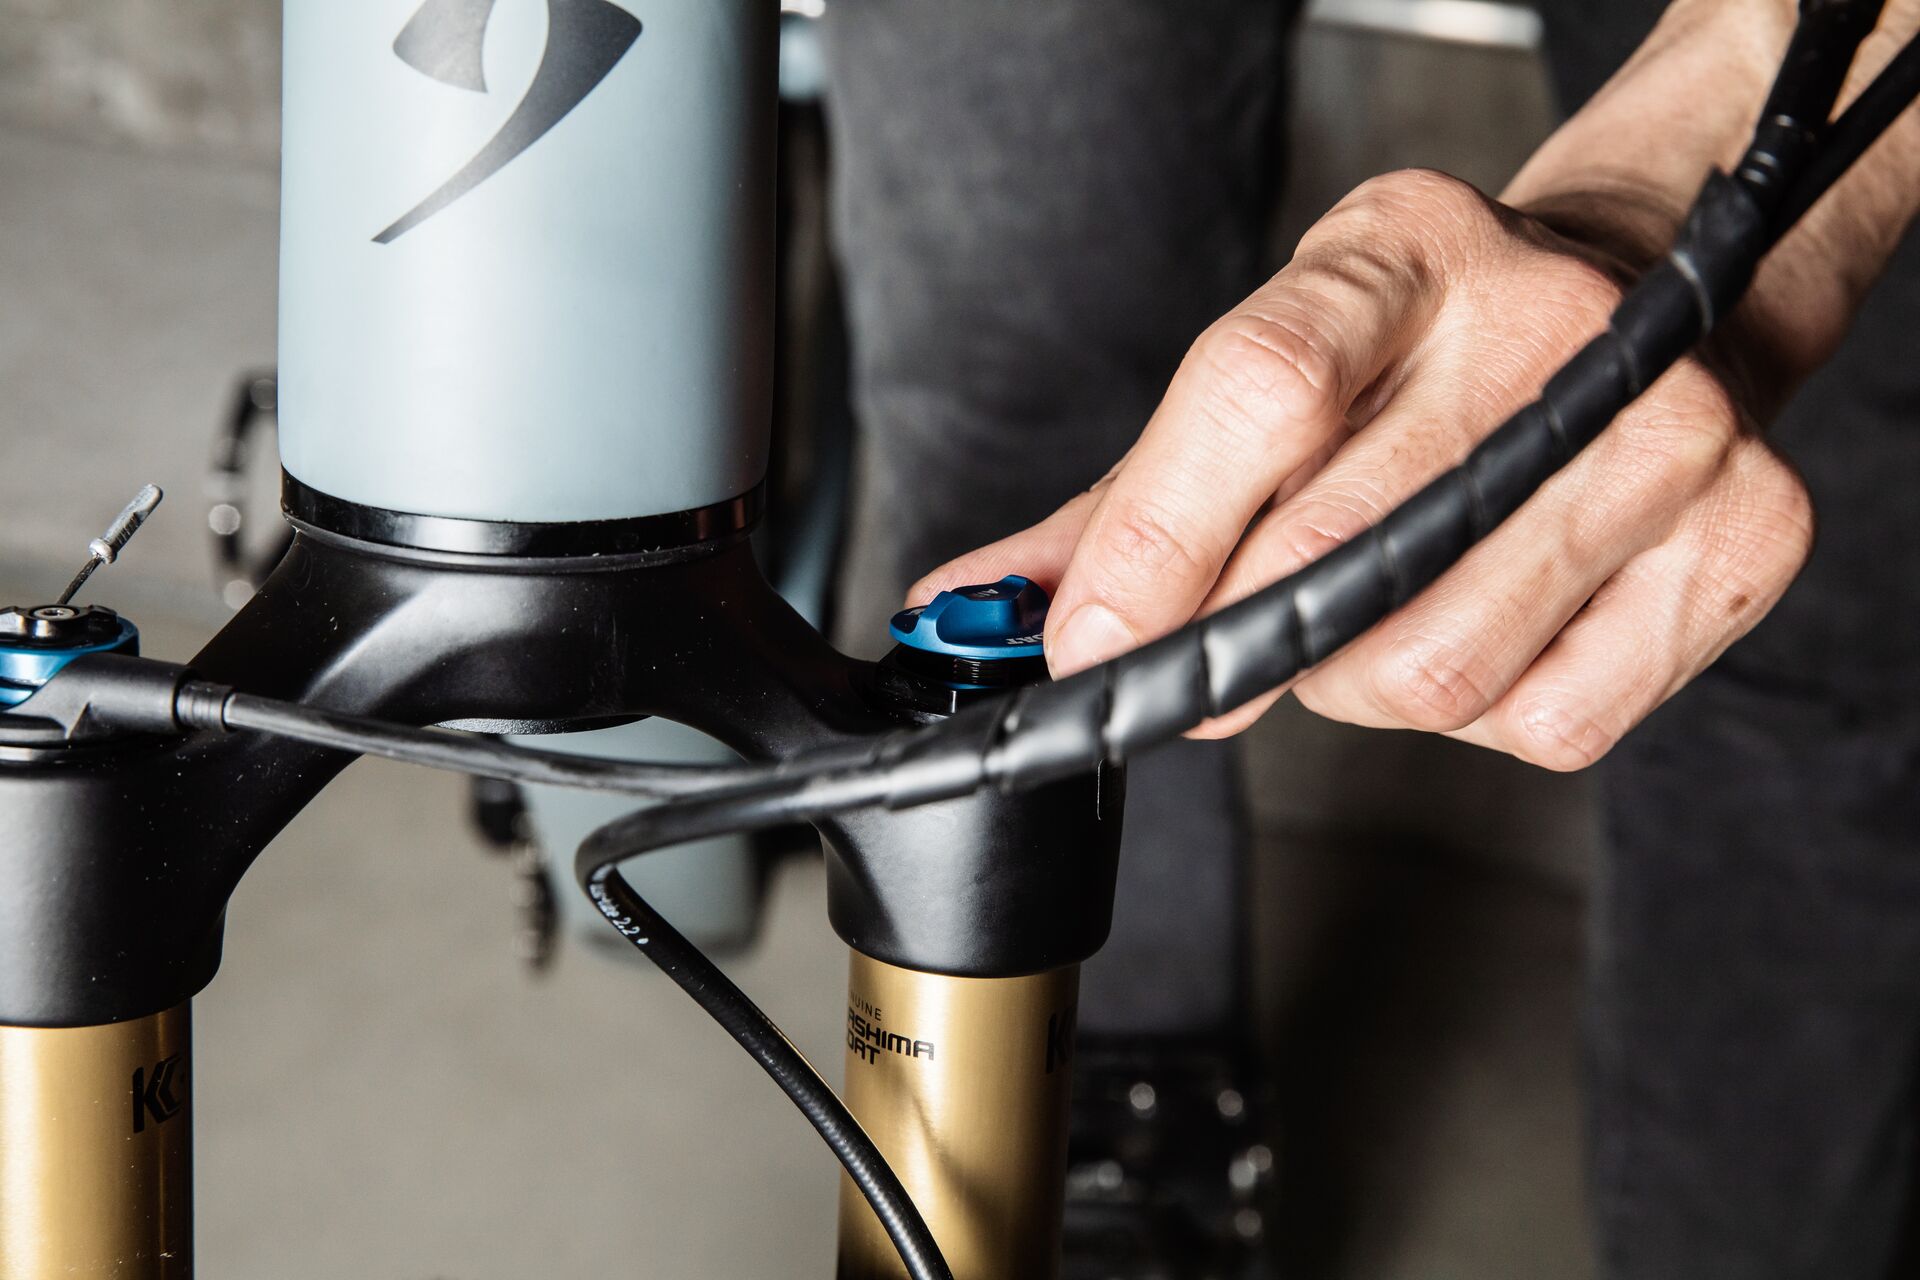
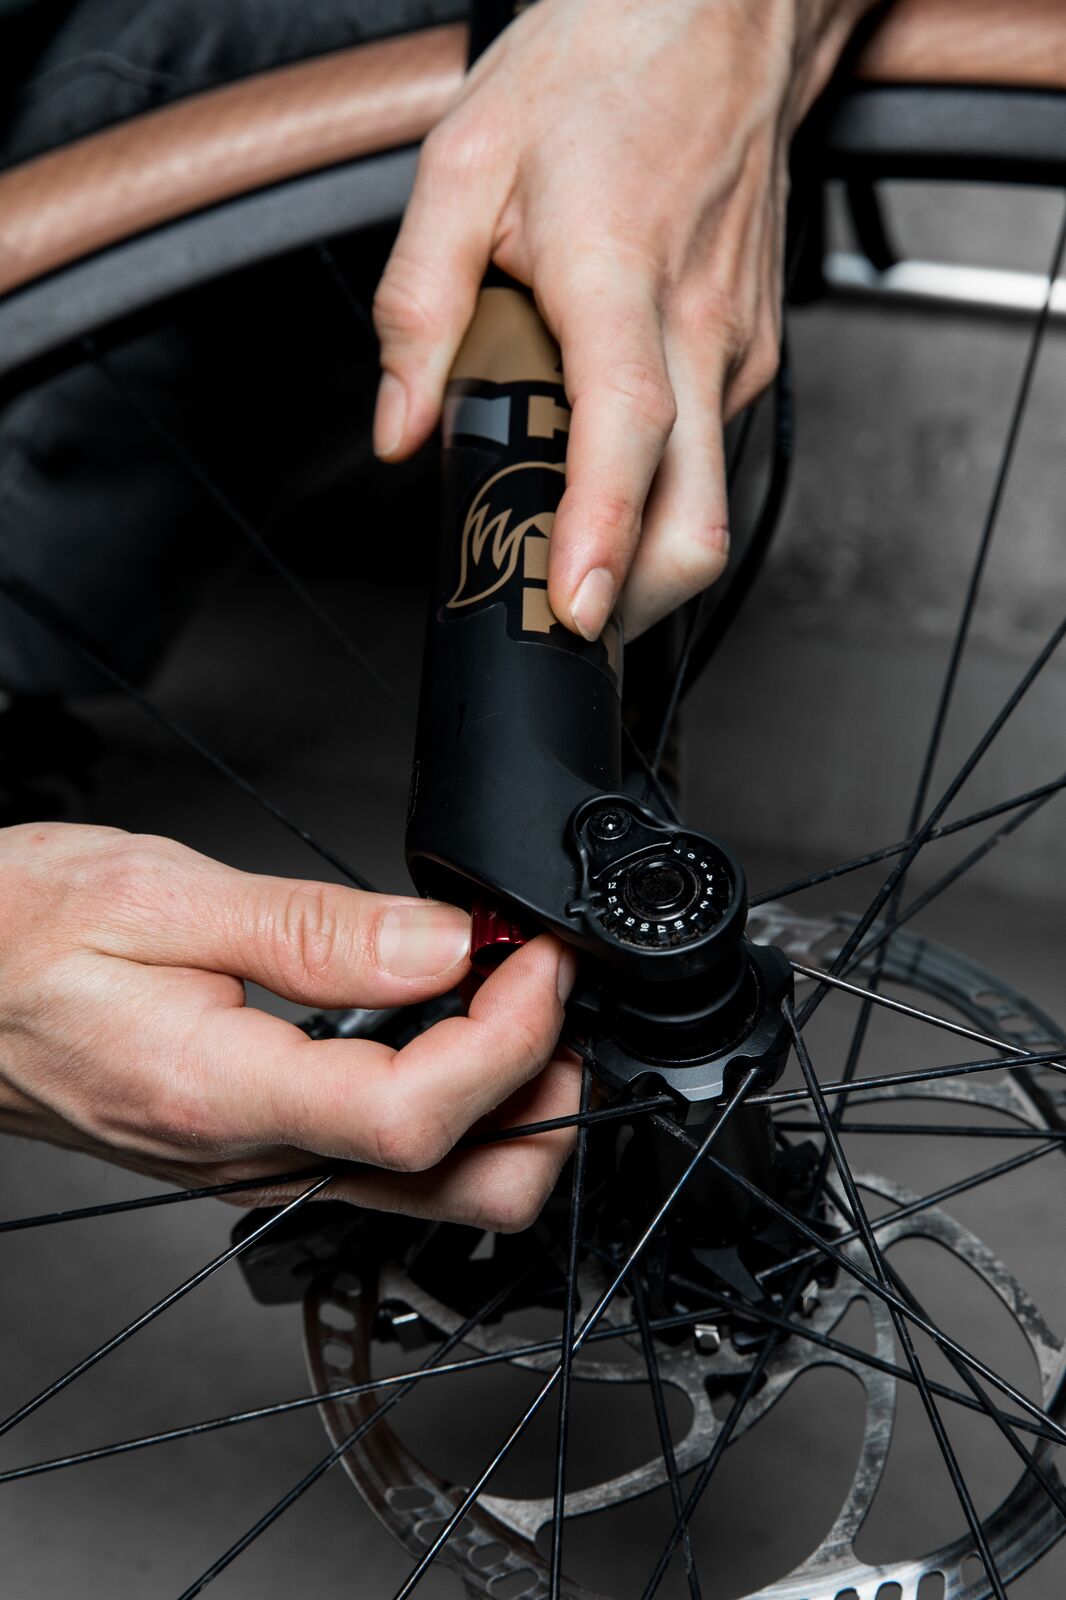
To adjust the rebound damping, you need to find out the dial’s total number of clicks: 

1. Turn the adjuster knob counter-clockwise as far as it will go. You can feel the clicks as you turn it. 
2. Now count the number of clicks as you turn the knob in the other direction. 
3. Then set the rebound to the middle of the adjustment range and voilà – you have your default starting position!

Side note: Which symbols can be found on the adjuster knob depends on the manufacturer. Some use plus and minus, others – like RockShox – use a tortoise and a jackalope (jackrabbit with antelope horns), for instance. 

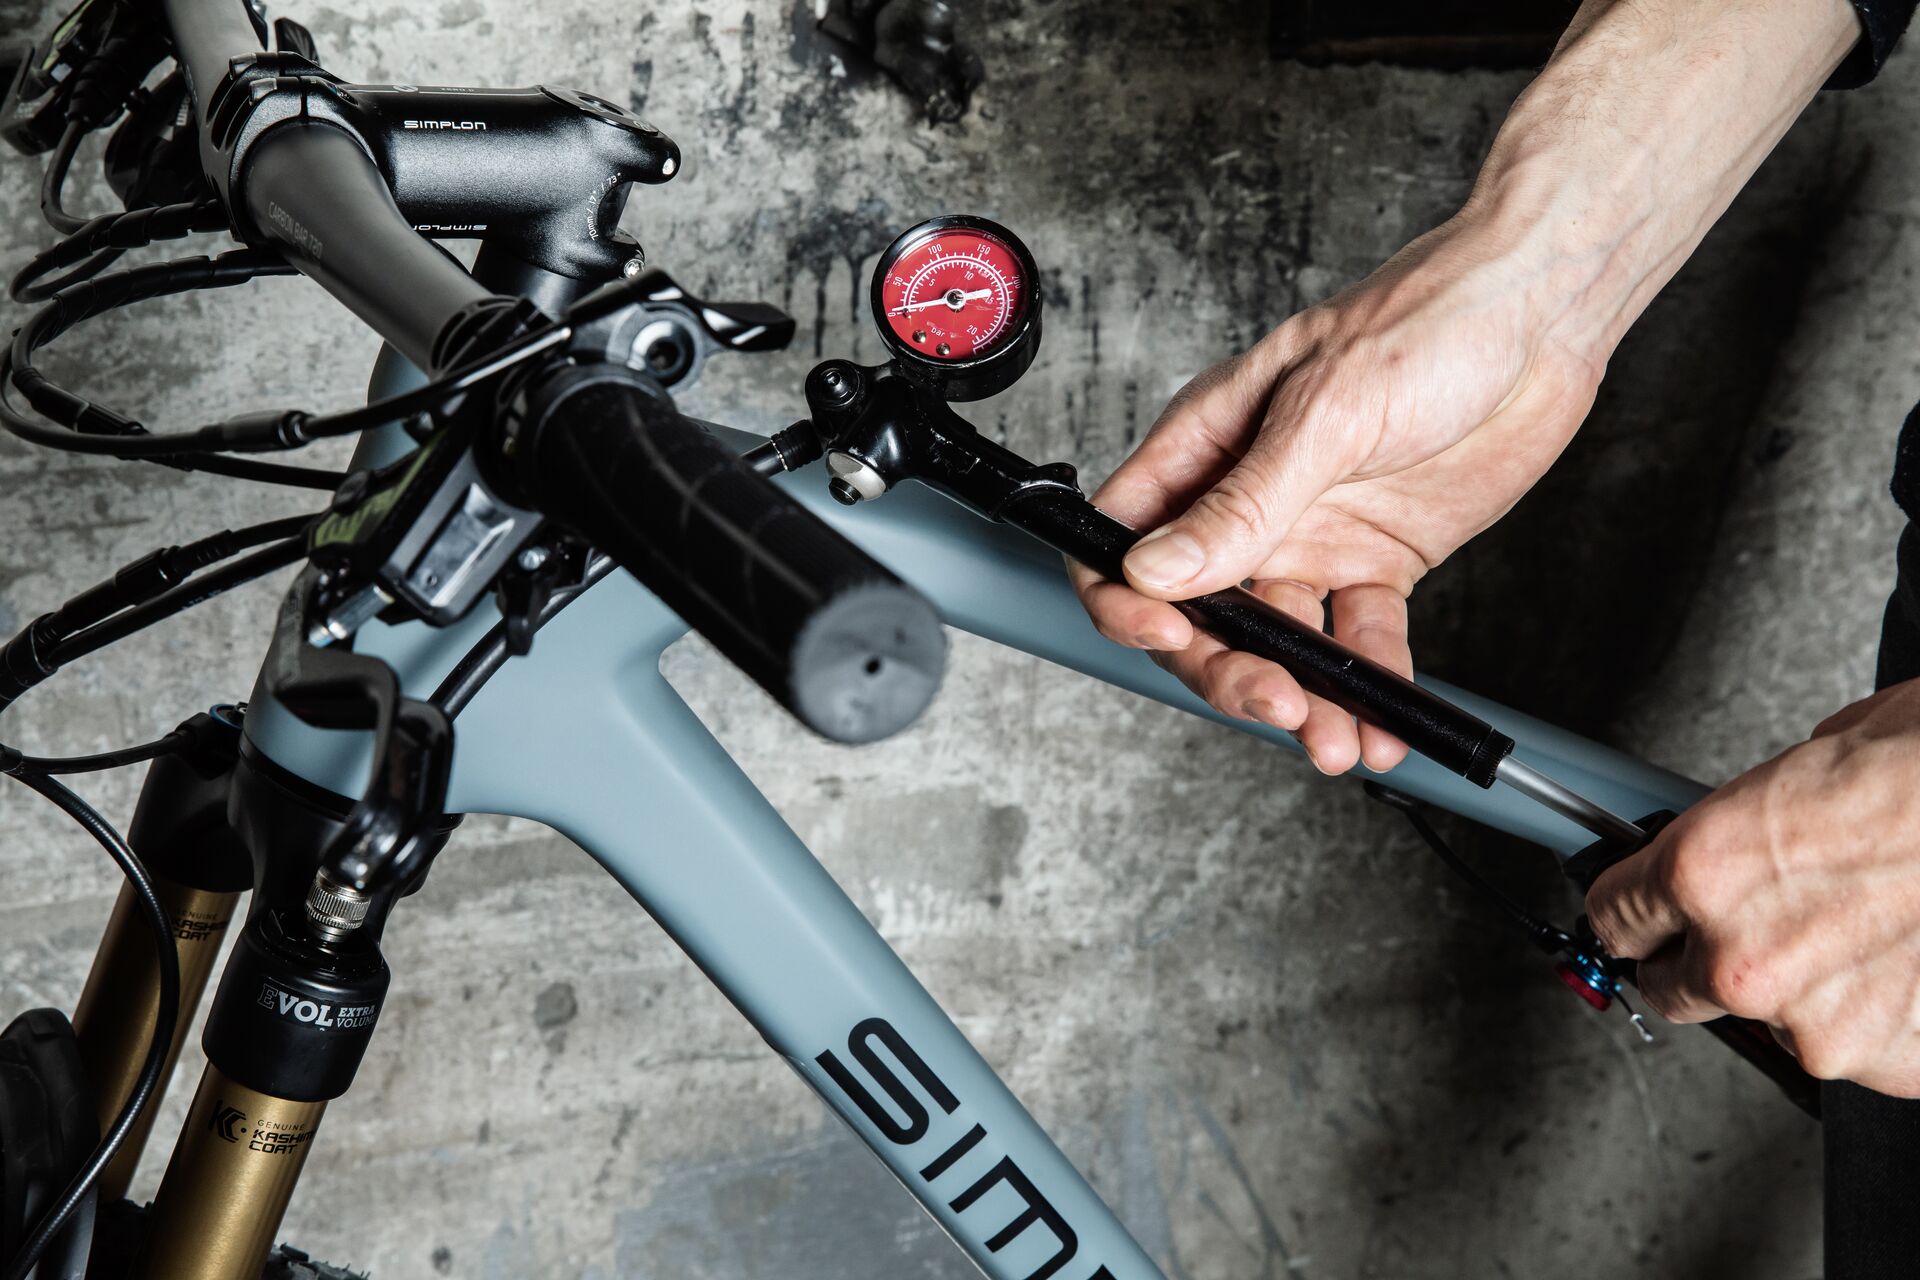
Now you can test your settings. Press the handlebars down with both hands so that the fork compresses. If the front wheel bounces off the ground when you let go, the rebound is set too fast. Set the damping to a higher level until the front wheel no longer goes flying off the ground after you release the handlebars.

Rule of thumb for rebound speed: as fast as possible, as slow as necessary.

Adjusting the compression damping

The compression damping regulates the compression speed of the fork, and its adjuster knob can also be found on the right-hand leg – but this time, on top. Once again, the middle of the adjustment range is a solid starting point.

Depending on which mountain bike you own, there might be two separate adjusters for high-speed and low-speed compression. 

It’s best to test the settings on a trail that has a few roots, berms and jumps. If the suspension feels too hard during quick compressions and you use little suspension travel, the high-speed compression damping is set too high. If the suspension feels a little too soft and you use (almost) all the travel, it’s set too low.

The best way to find out whether you need to adjust the low-speed compression settings is to pay attention to how your bike feels as you approach curves or jumps. If you find that your body and bike don’t “harmonise”, i. e. the suspension feels sluggish or “stacks up”, then the low-speed compression damping is set too low. In this case, turn the adjuster knob in the “plus” direction! This makes the bike livelier and gives you more support. But, as usual, the rule of thumb is: Everything in moderation! Too much low-speed compression damping can make the suspension feel “harsh” and not very responsive.

Adding volume spacers

You’ve adjusted air pressure, rebound and compression but you still feel like you are not using your suspension to its full potential? That's when the so-called volume spacers or volume tokens come into play. Their purpose is to adjust the spring rate progressivity by limiting the volume of the air spring chamber.

Here’s how it works:

Step 1: Open the air chamber

First, you need to let the air out of the air chamber. Ideally, you use a shock pump for this. Tip: Check where the air pressure is at before you release the air. This way you know exactly how much air you need to pump back in later on. Before opening the top cap, make sure that you have opened all lockout levers and the valve.

Step 2: Remove or install volume spacers

If you use the full travel too often and frequently bottom out your suspension, volume spacers can be added to make the spring rate more progressive. If you’re struggling to achieve full travel, simply remove a few volume spacers to make the spring rate feel more linear. Be careful how you position the spacers when you install or remove them. Most bikes come with pre-installed spacers that you can use as an example. 

When removing the spacers: Be patient and don’t use too much force. It’s usually easier if you use a small screwdriver.

Another additional tip for your optimal set-up: Important details, such as the maximum number of volume spacers, can be found in the manuals of the suspension manufacturer.

Step 3: Close the air chamber

Put the cap back on, fill up the air chamber and close the valve.

For a proper before and after comparison, you need to put the same air pressure back into the air spring that you had before.

Pro tip: There is no optimum number of spacers or tokens. It all depends on your riding style and the trails you ride. How do you know if you’ve hit the “goldilocks” number? As always, the proof is in the pudding. 

By the way: You can also adjust the rear shocks on your bike to suit your individual needs.

How to - watch our video tutorial now!

The complete instructions for your suspension setup on the Rapcon Pmax, Rapcon or Razorblade III can be found in the video!

Coil shocks

Do you have coil shocks instead of an air spring? FOX offers a convenient tool to quickly figure out the proper spring rate. Simply enter your data, and the FOX spring rate calculator gives you the ideal spring rate for your coil shocks. 

Let's go – time to hit the trails!

Before you hop on the saddle and put the new suspension setup through its paces, here’s a quick life hack:

Finetuning the setup is all about trial and error. That's why it's important to note down the original settings. This way you can always go back to the basics. Keep tweaking your setup until everything feels right. One at a time, turn the adjusters two to four clicks in one direction and see how that feels.

Not quite right? Go ahead and turn it one click in the other direction. Just feel your way up or down click by click. This will give you a better idea of how your bike reacts to a change in the settings and which settings suit your riding style best. Once you have found the optimum setup, be sure to make a note of the settings. Some people keep a special notebook for this purpose but you can also use an app or whatever else you see fit. If you need any help feel free to reach out to our Simplon experts online or to one of our local dealers: We'll be happy to help!

Are you still missing the right bike to get you started? Configure your dream bike now with our bike configurator!

configurate

Recommendations

© Simplon Fahrrad GmbH

Mid-drive vs. rear-hub motors for e-bikes

Find out how mid-drive motors and rear-hub motors differ, and which e-bike motor is best suited to your riding style. Learn more in the online magazine!
© John Gibson Photo and TransRockies Classic

TransRockies Classic – the legendary MTB event in Canada

Fascinating, legendary and full of comradely spirit: the TransRockies in North America. Find out more about the iconic MTB event with a one-of-a-kind vibe! 

Developer Yannick talks about the Rapcon

What does the development process of bikes like the Rapcon look like, and what makes this mountain bike stand out? Read the interview with Yannick!

Down country bikes

More suspension travel, a slacker head tube angle, ... Find out about the differences between down country and cross country bikes!